Crimes of The Heart
Summary of Setting
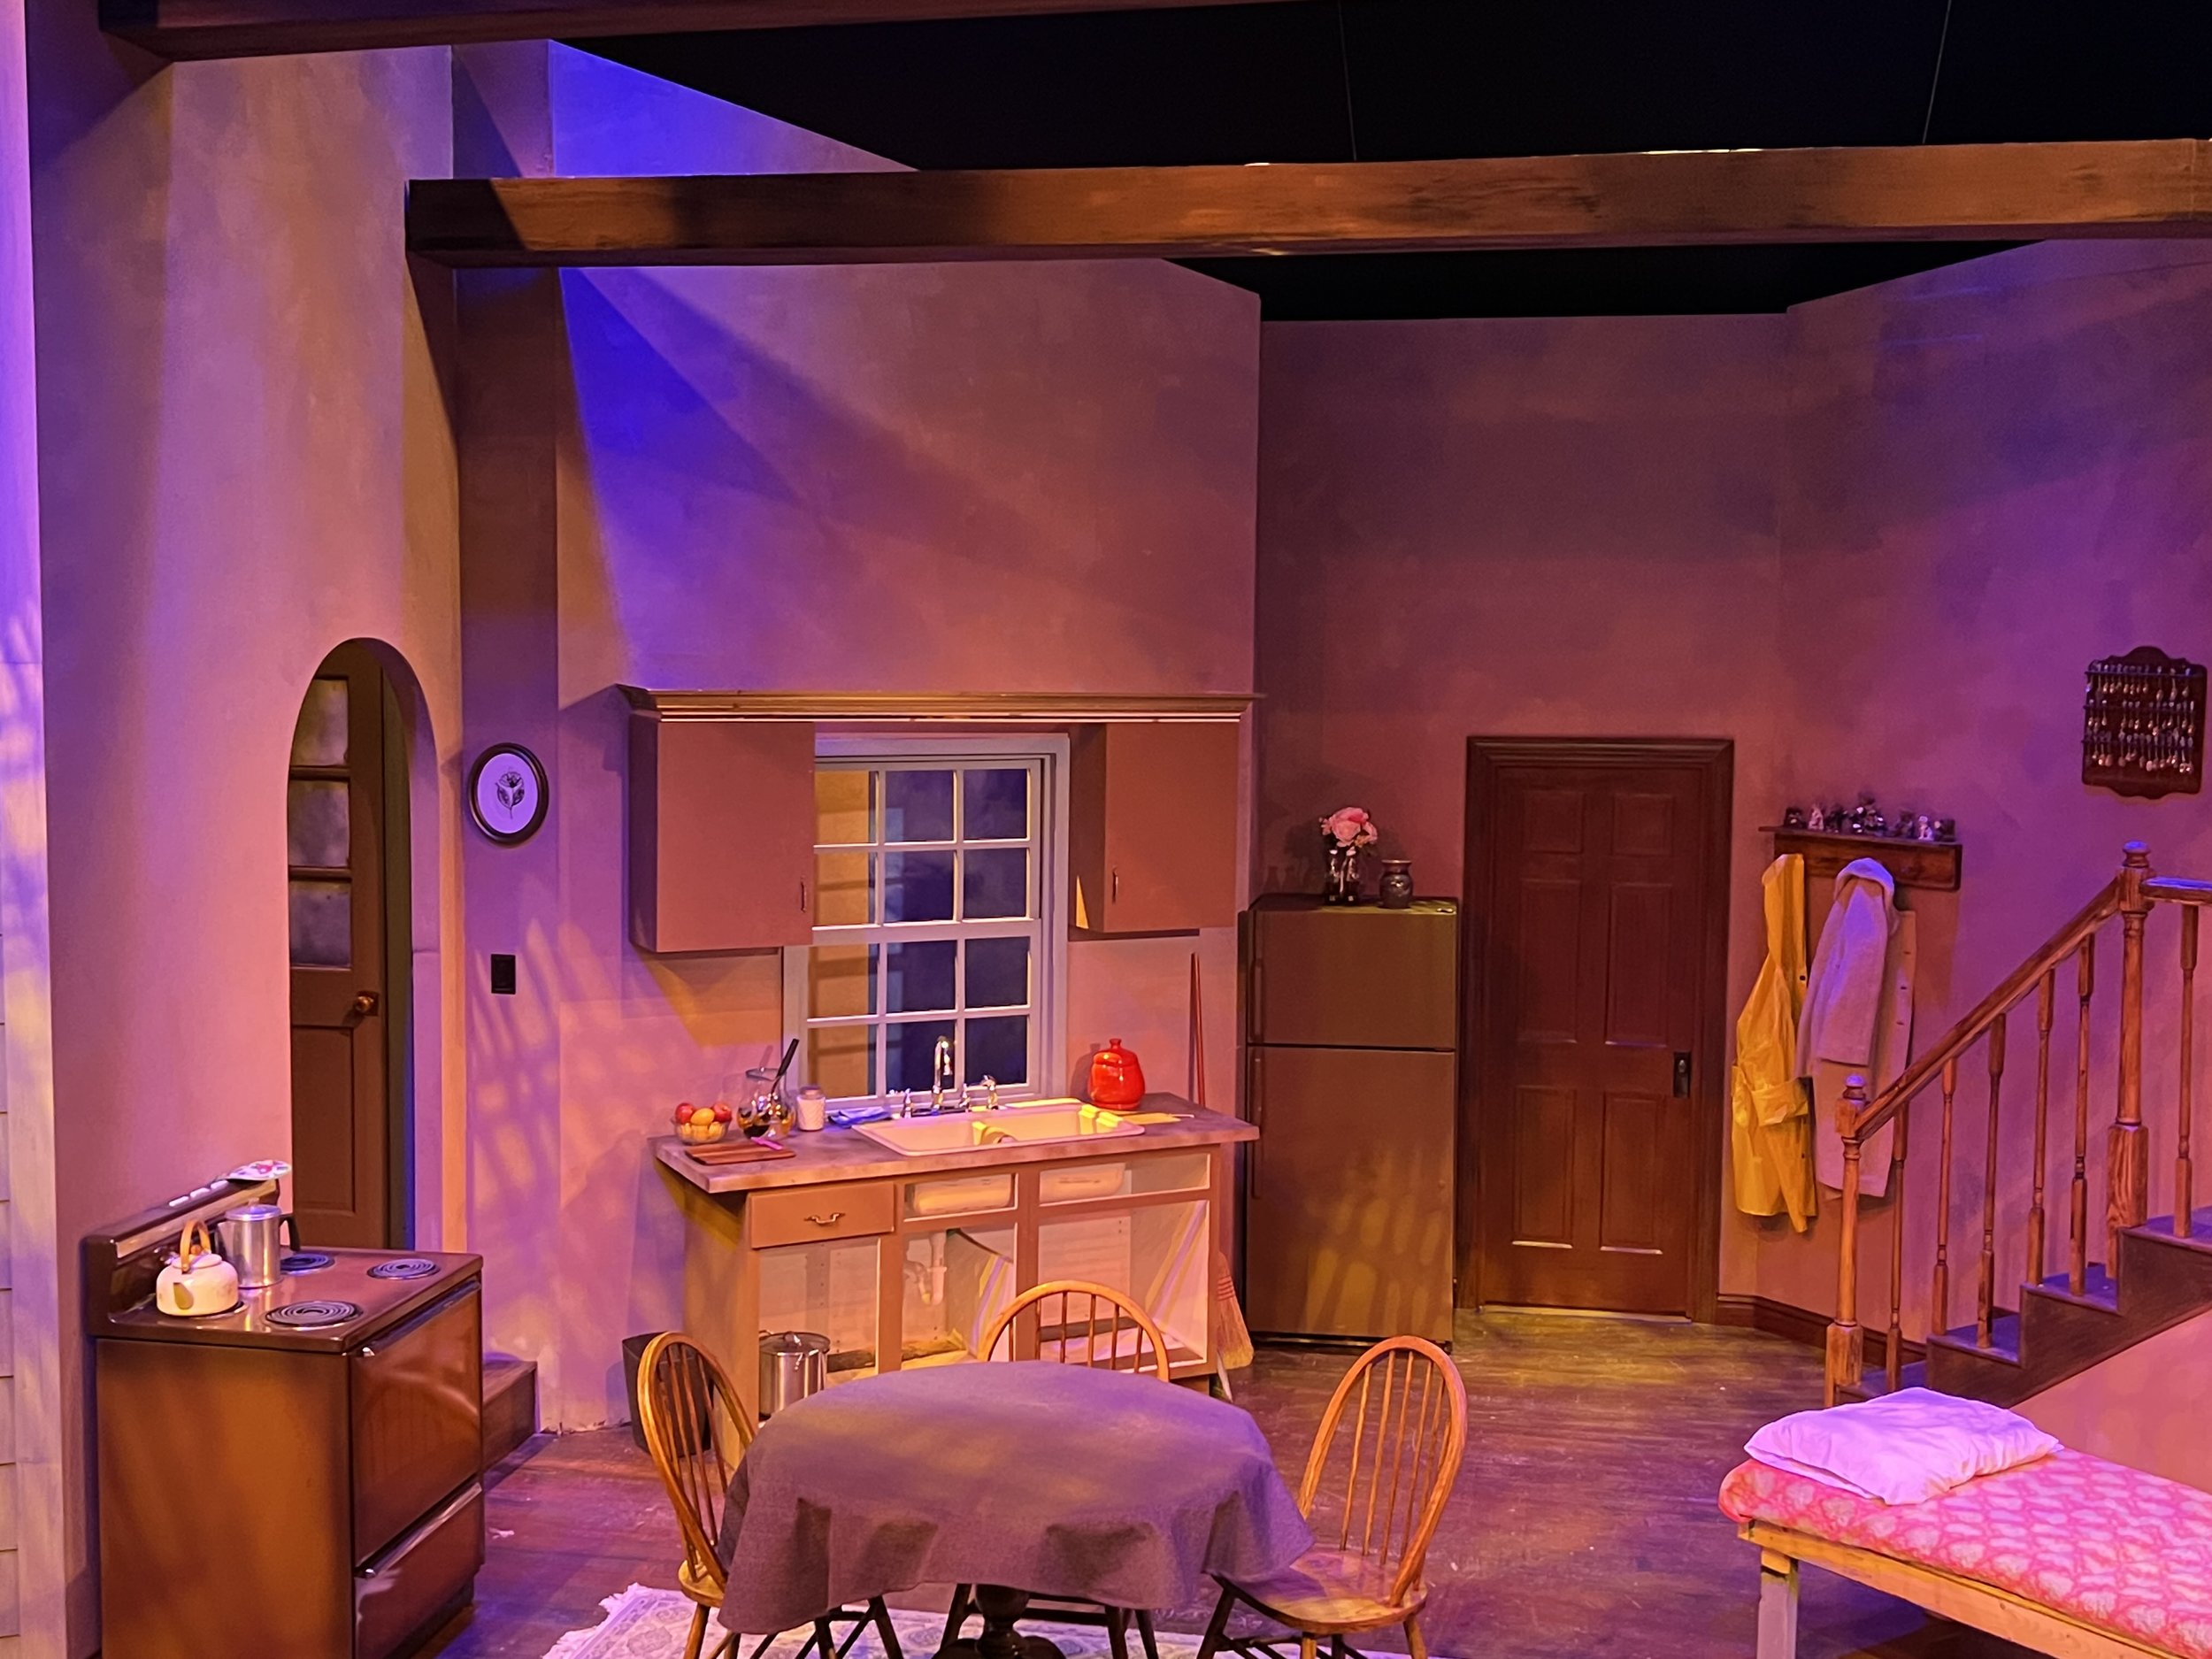
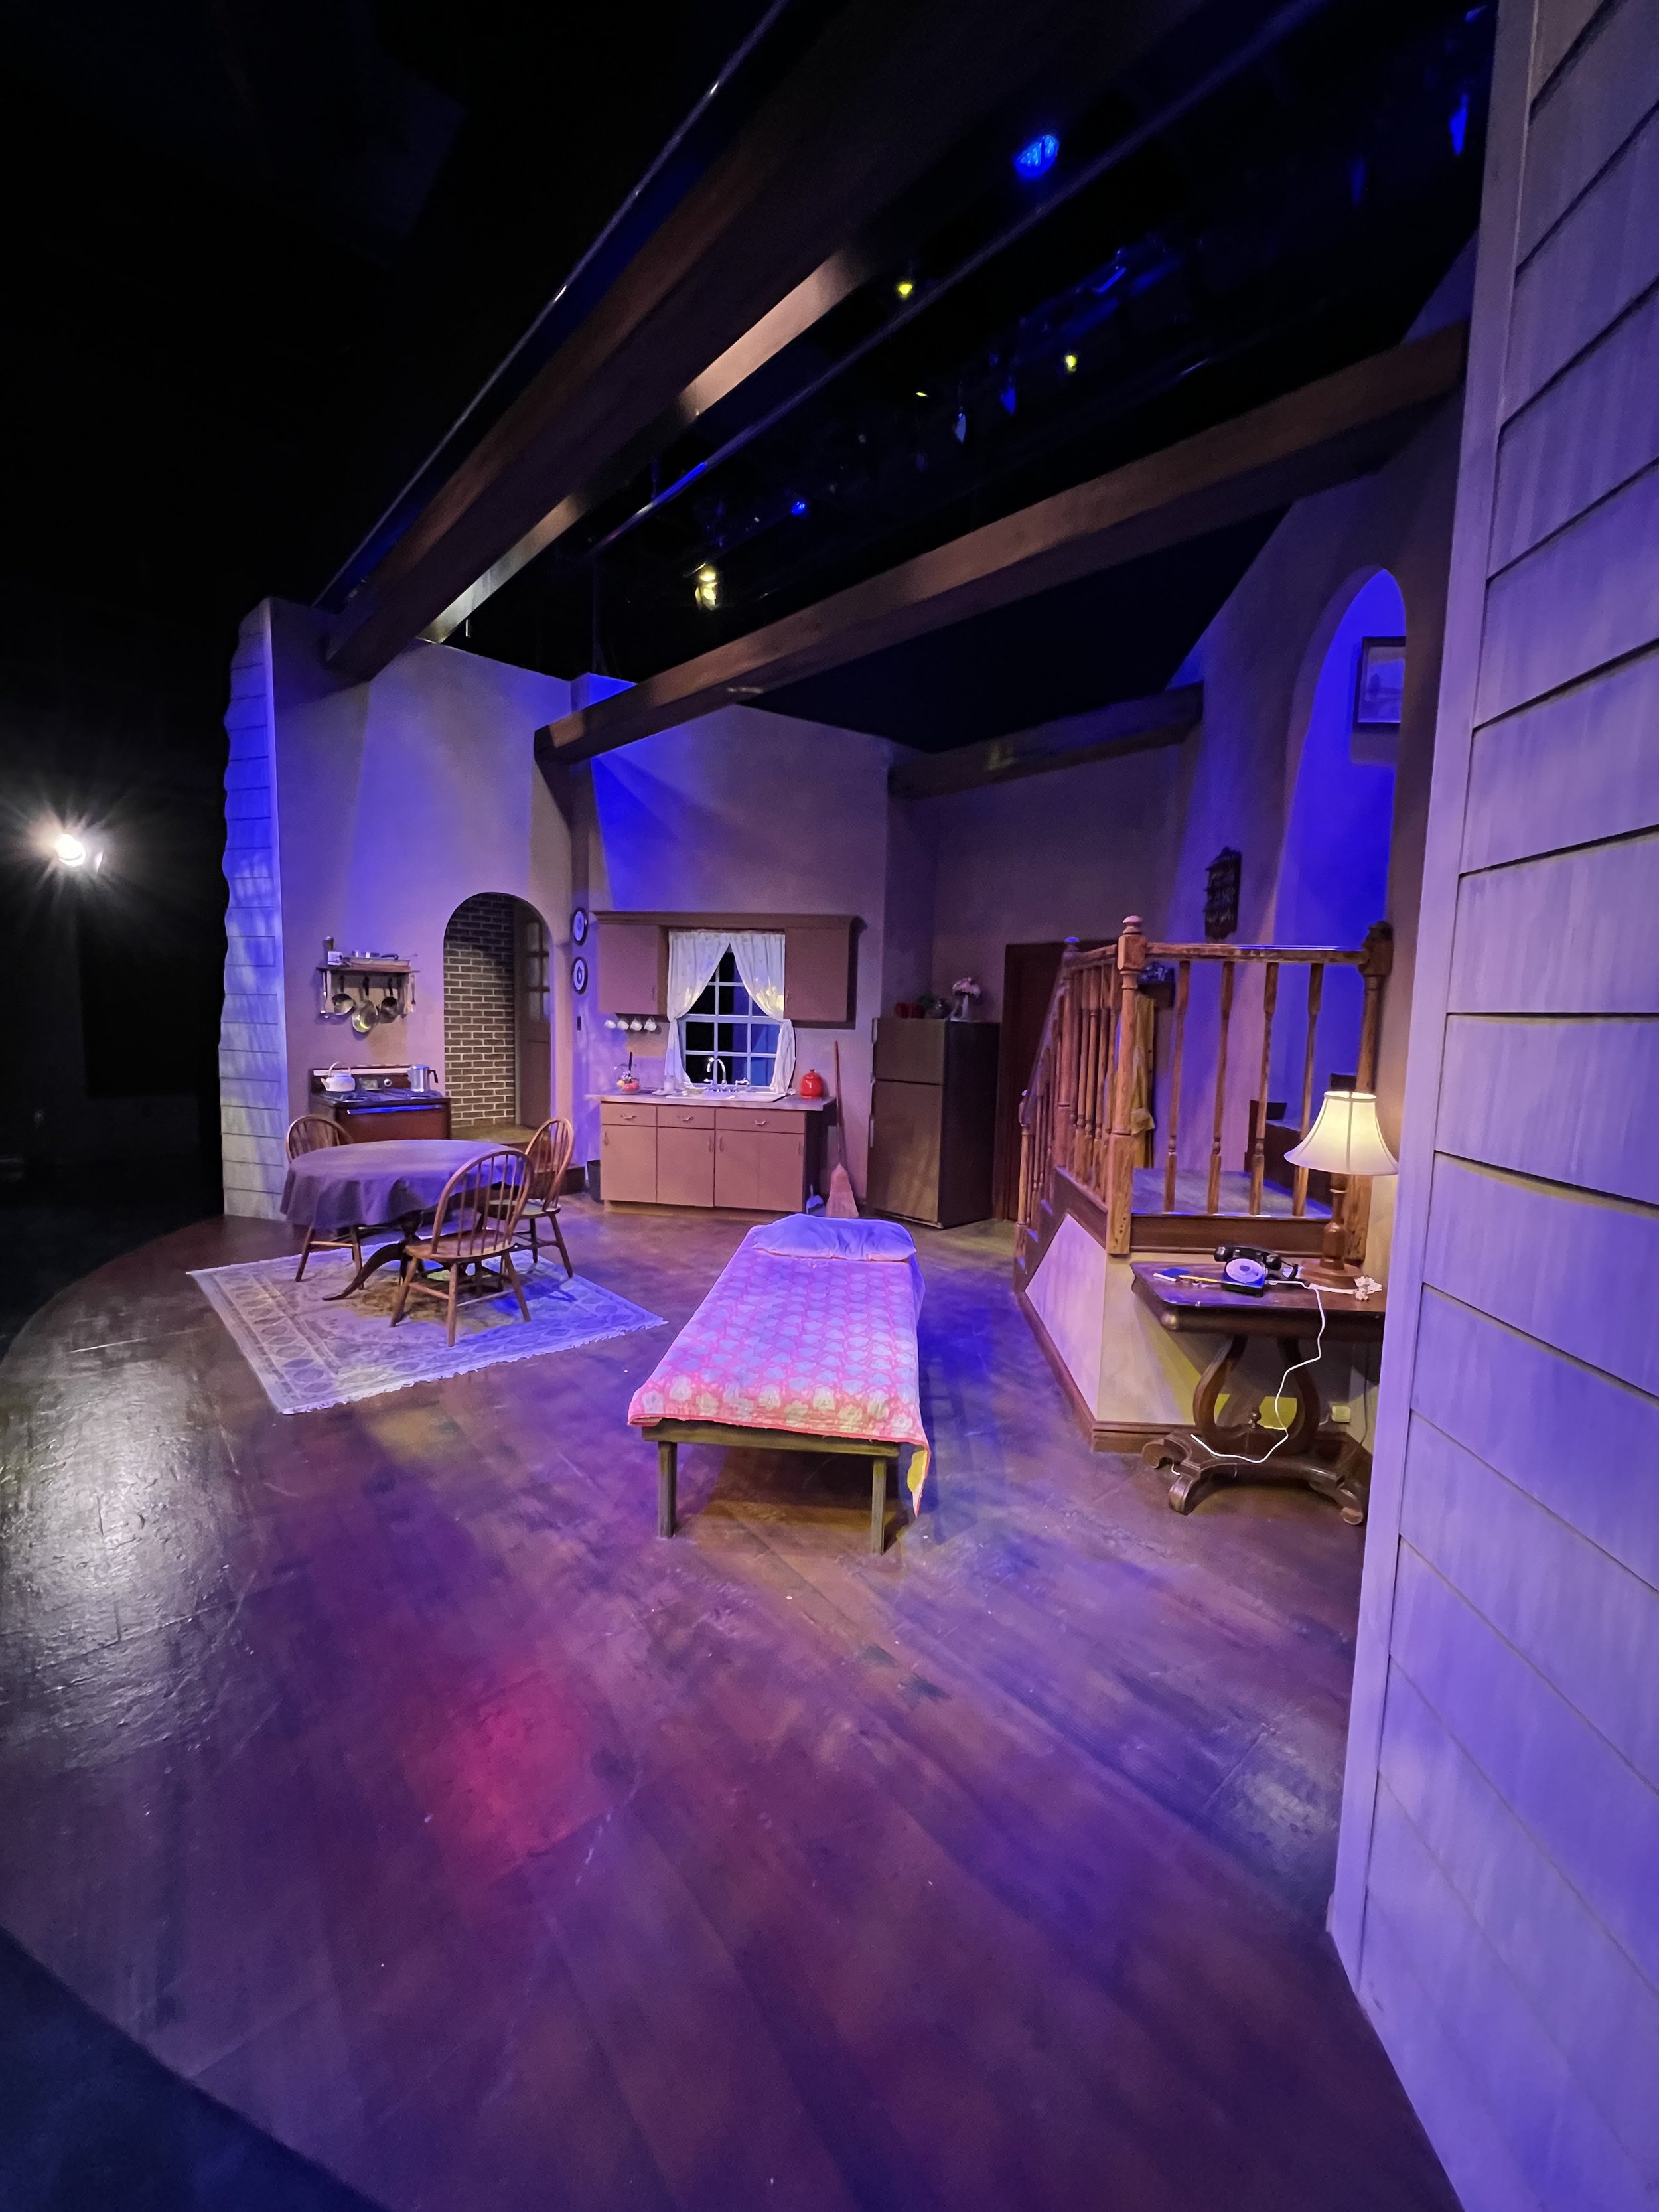
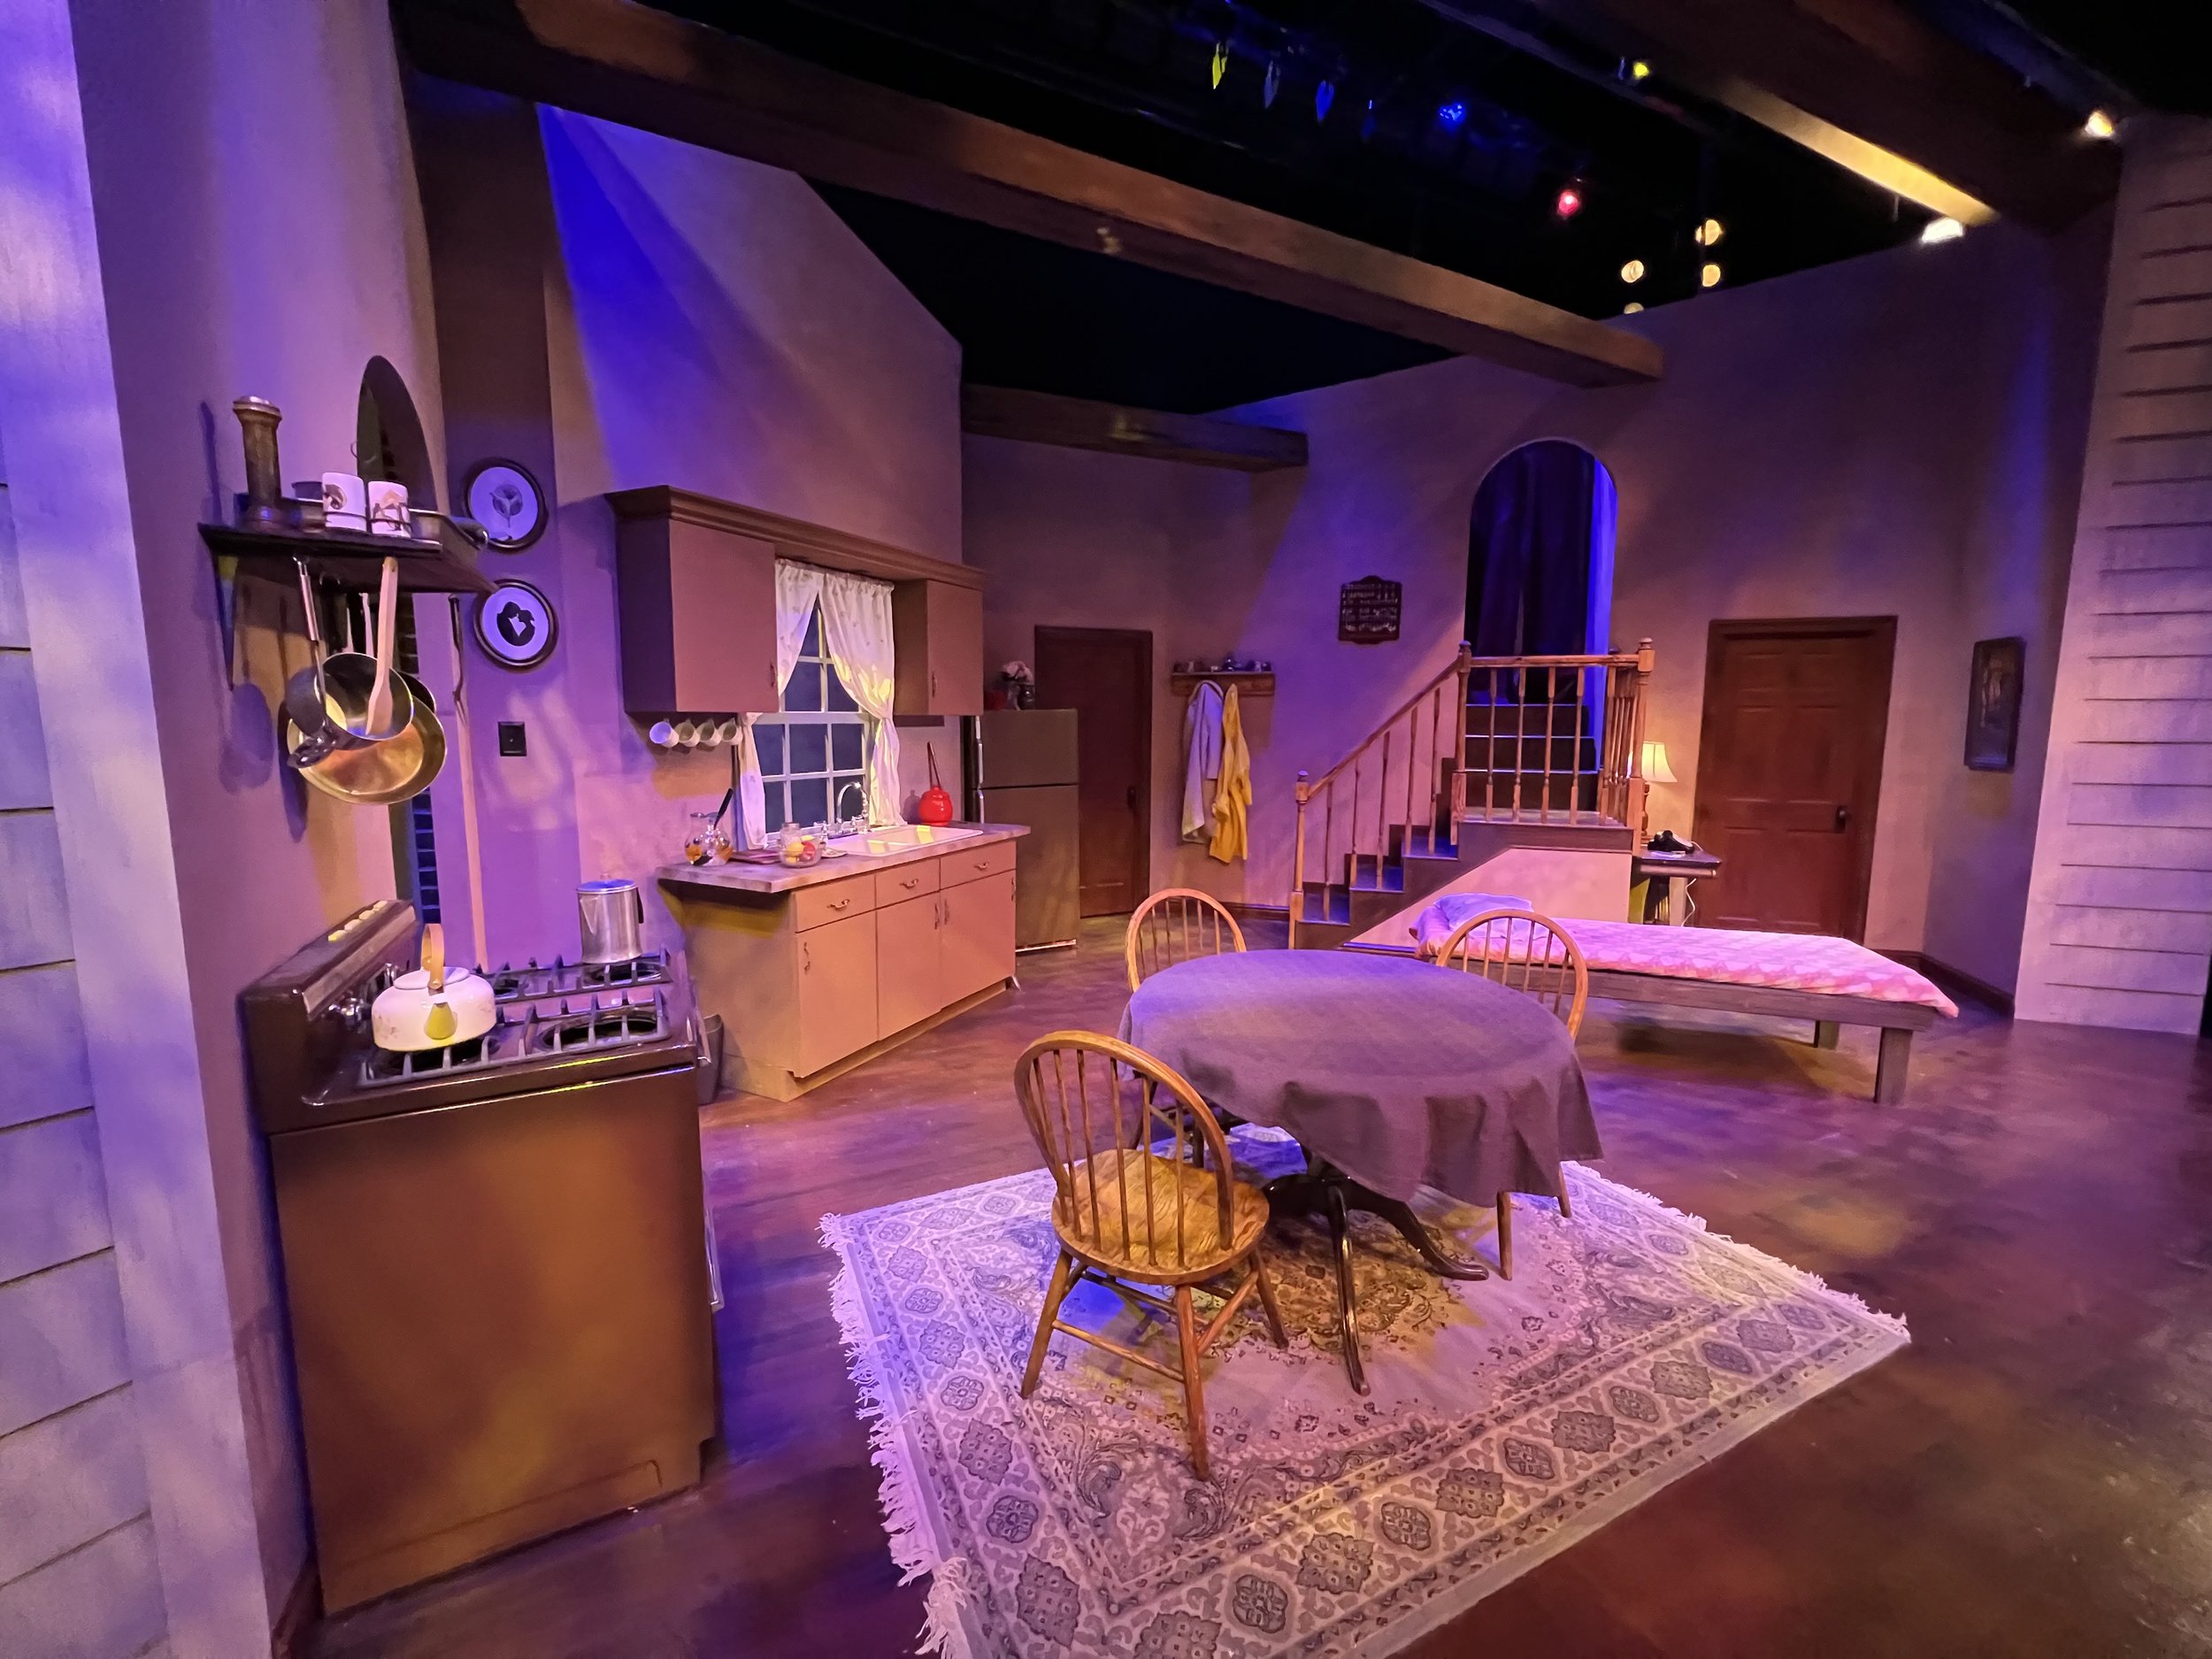
Crimes of the heart takes place in rural Alabama in the kitchen of the Magrath’s grandfather home in 1974. However, since the home was most likely built before the 1970s Longwood University’s Scenic Designer, Scott Chapman, decided to have the set match a 1950’s farm house because that is most likely when the house was built. This was a realistic set with a real stove, cabinets, sink with running water, and a fridge. The second floor of the house had escape stairs that went off into the back stage area as well.
Assistant Technical Director
Responsibilities
Maintain Upkeep of the shop
Lead any crew that comes to the shop during shop hours and complete any task given to me by the Technical Director.
Read and follow ground plans and building plans of different parts of the set and build what is needed
Advise and help Technical Director with anything he needs help with for the production
Follow all safety guidelines and help others follow them as well.
Floor Plan

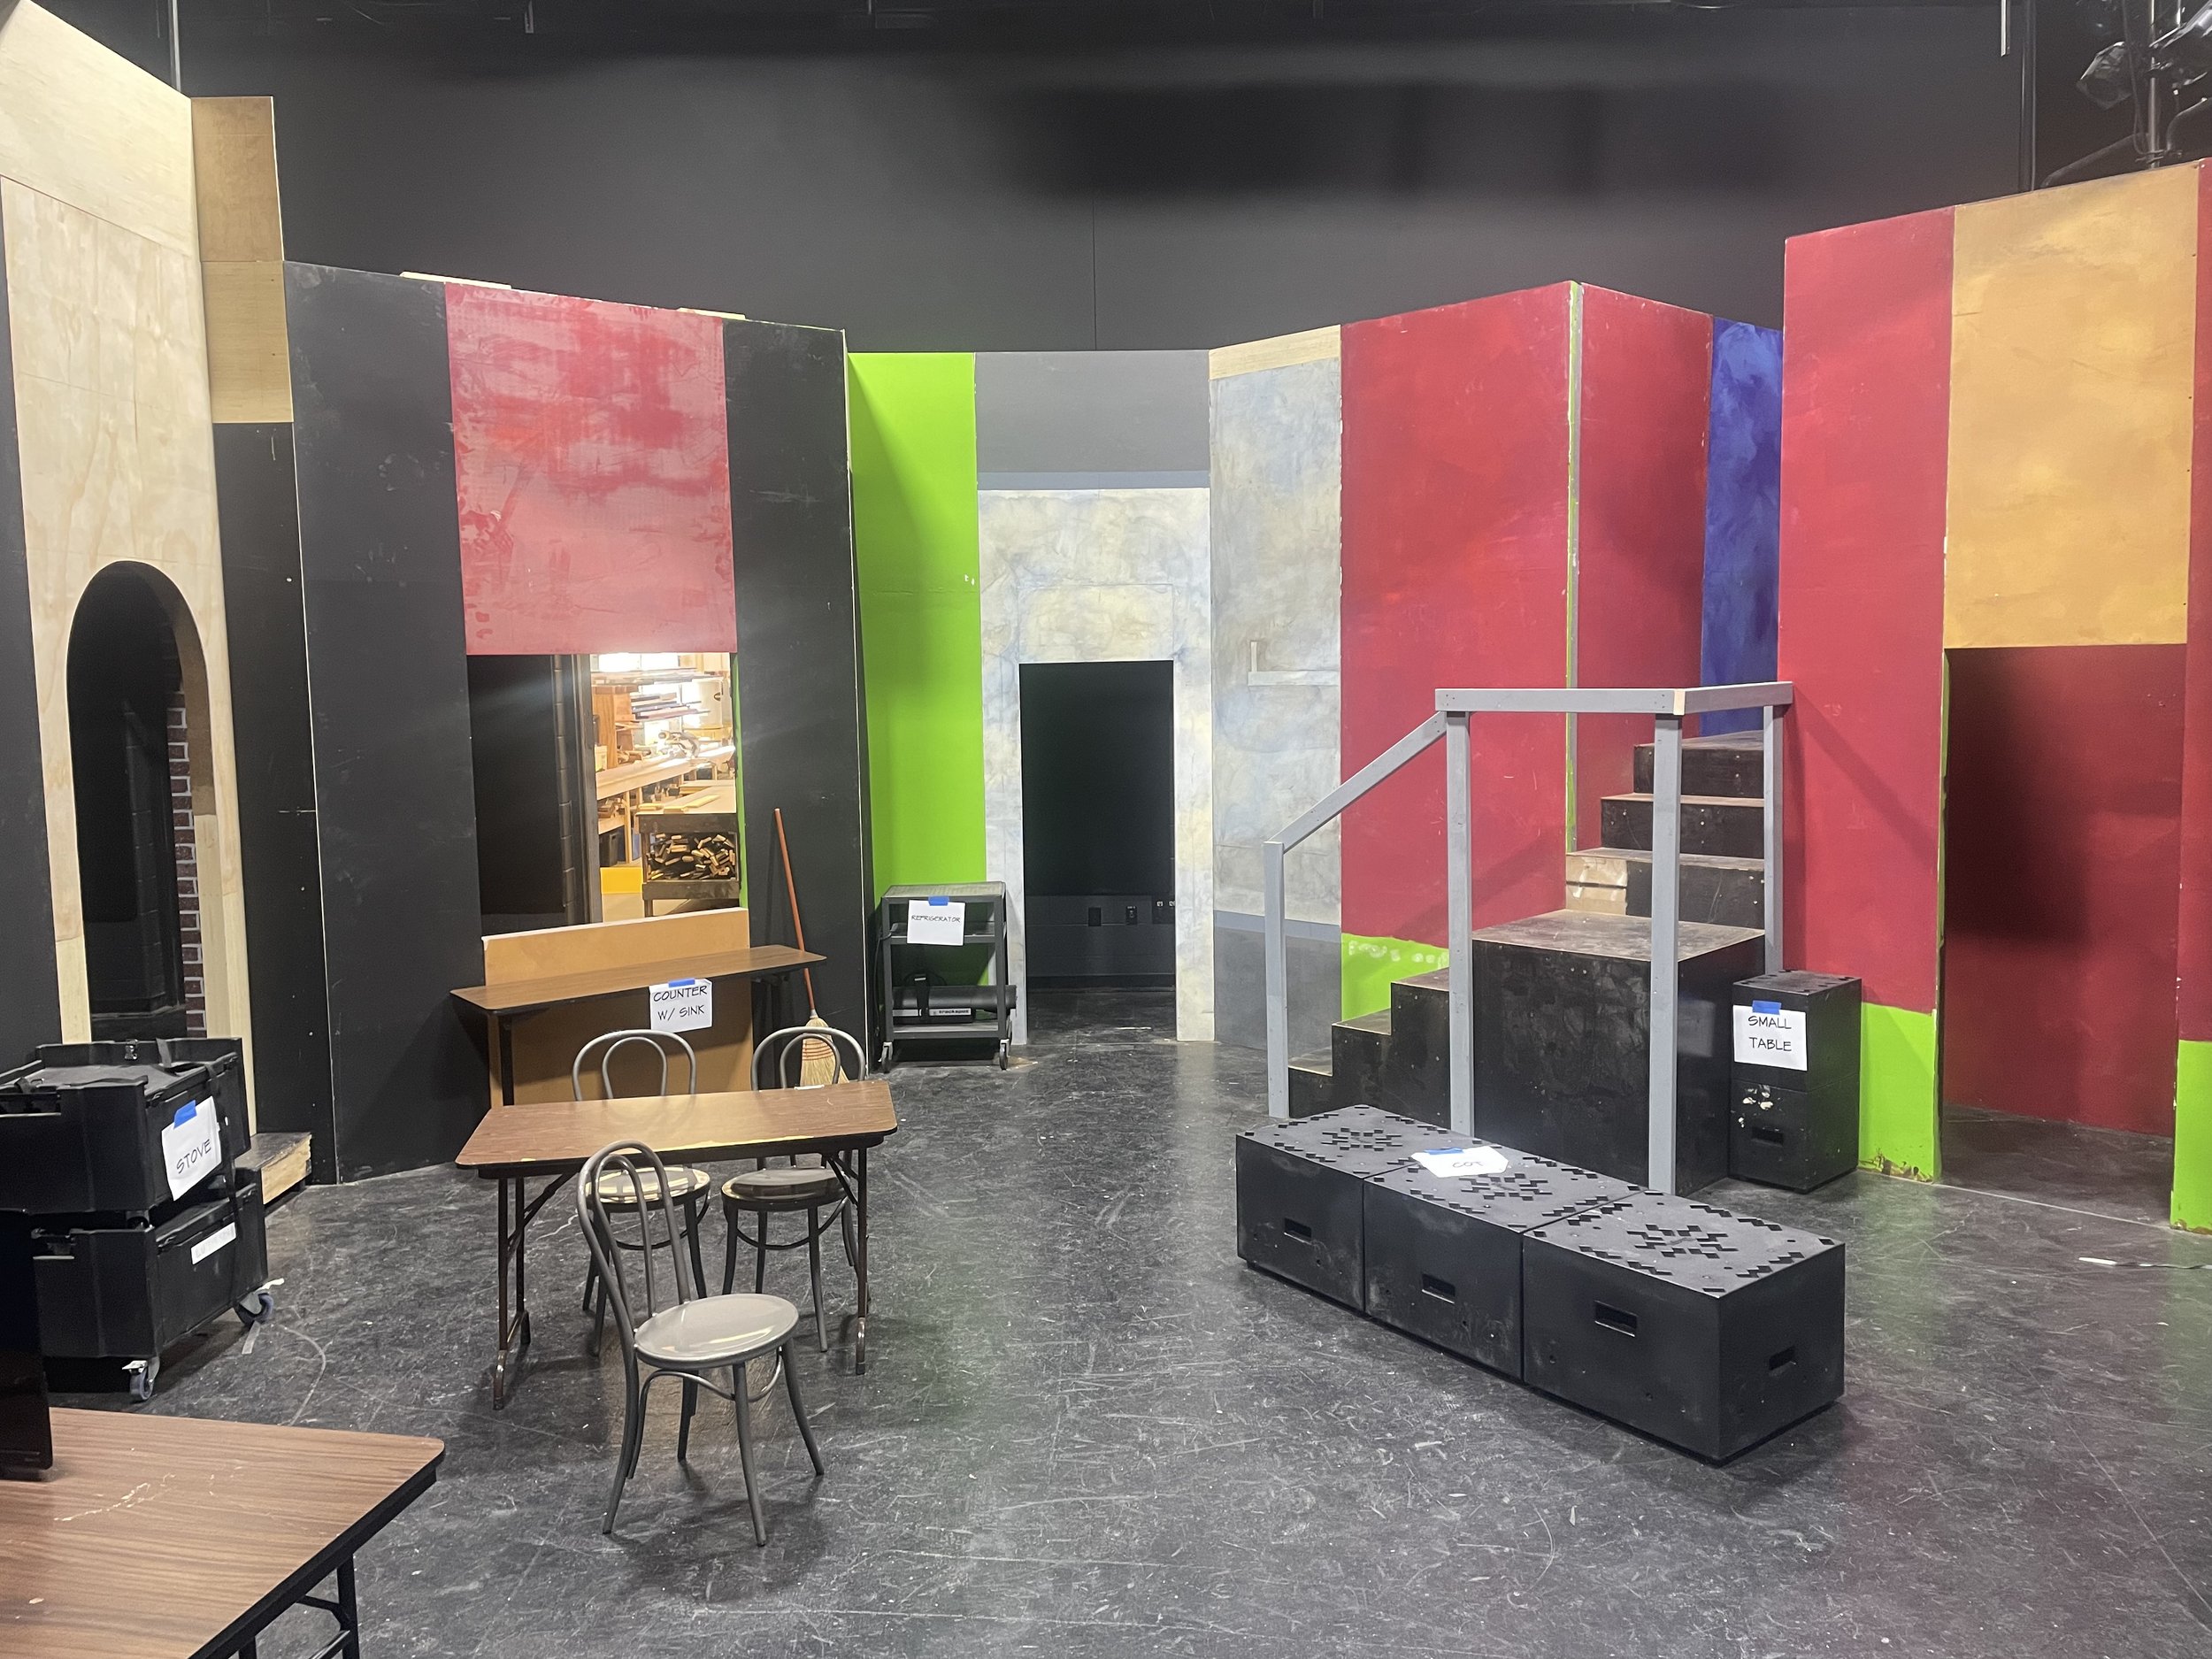
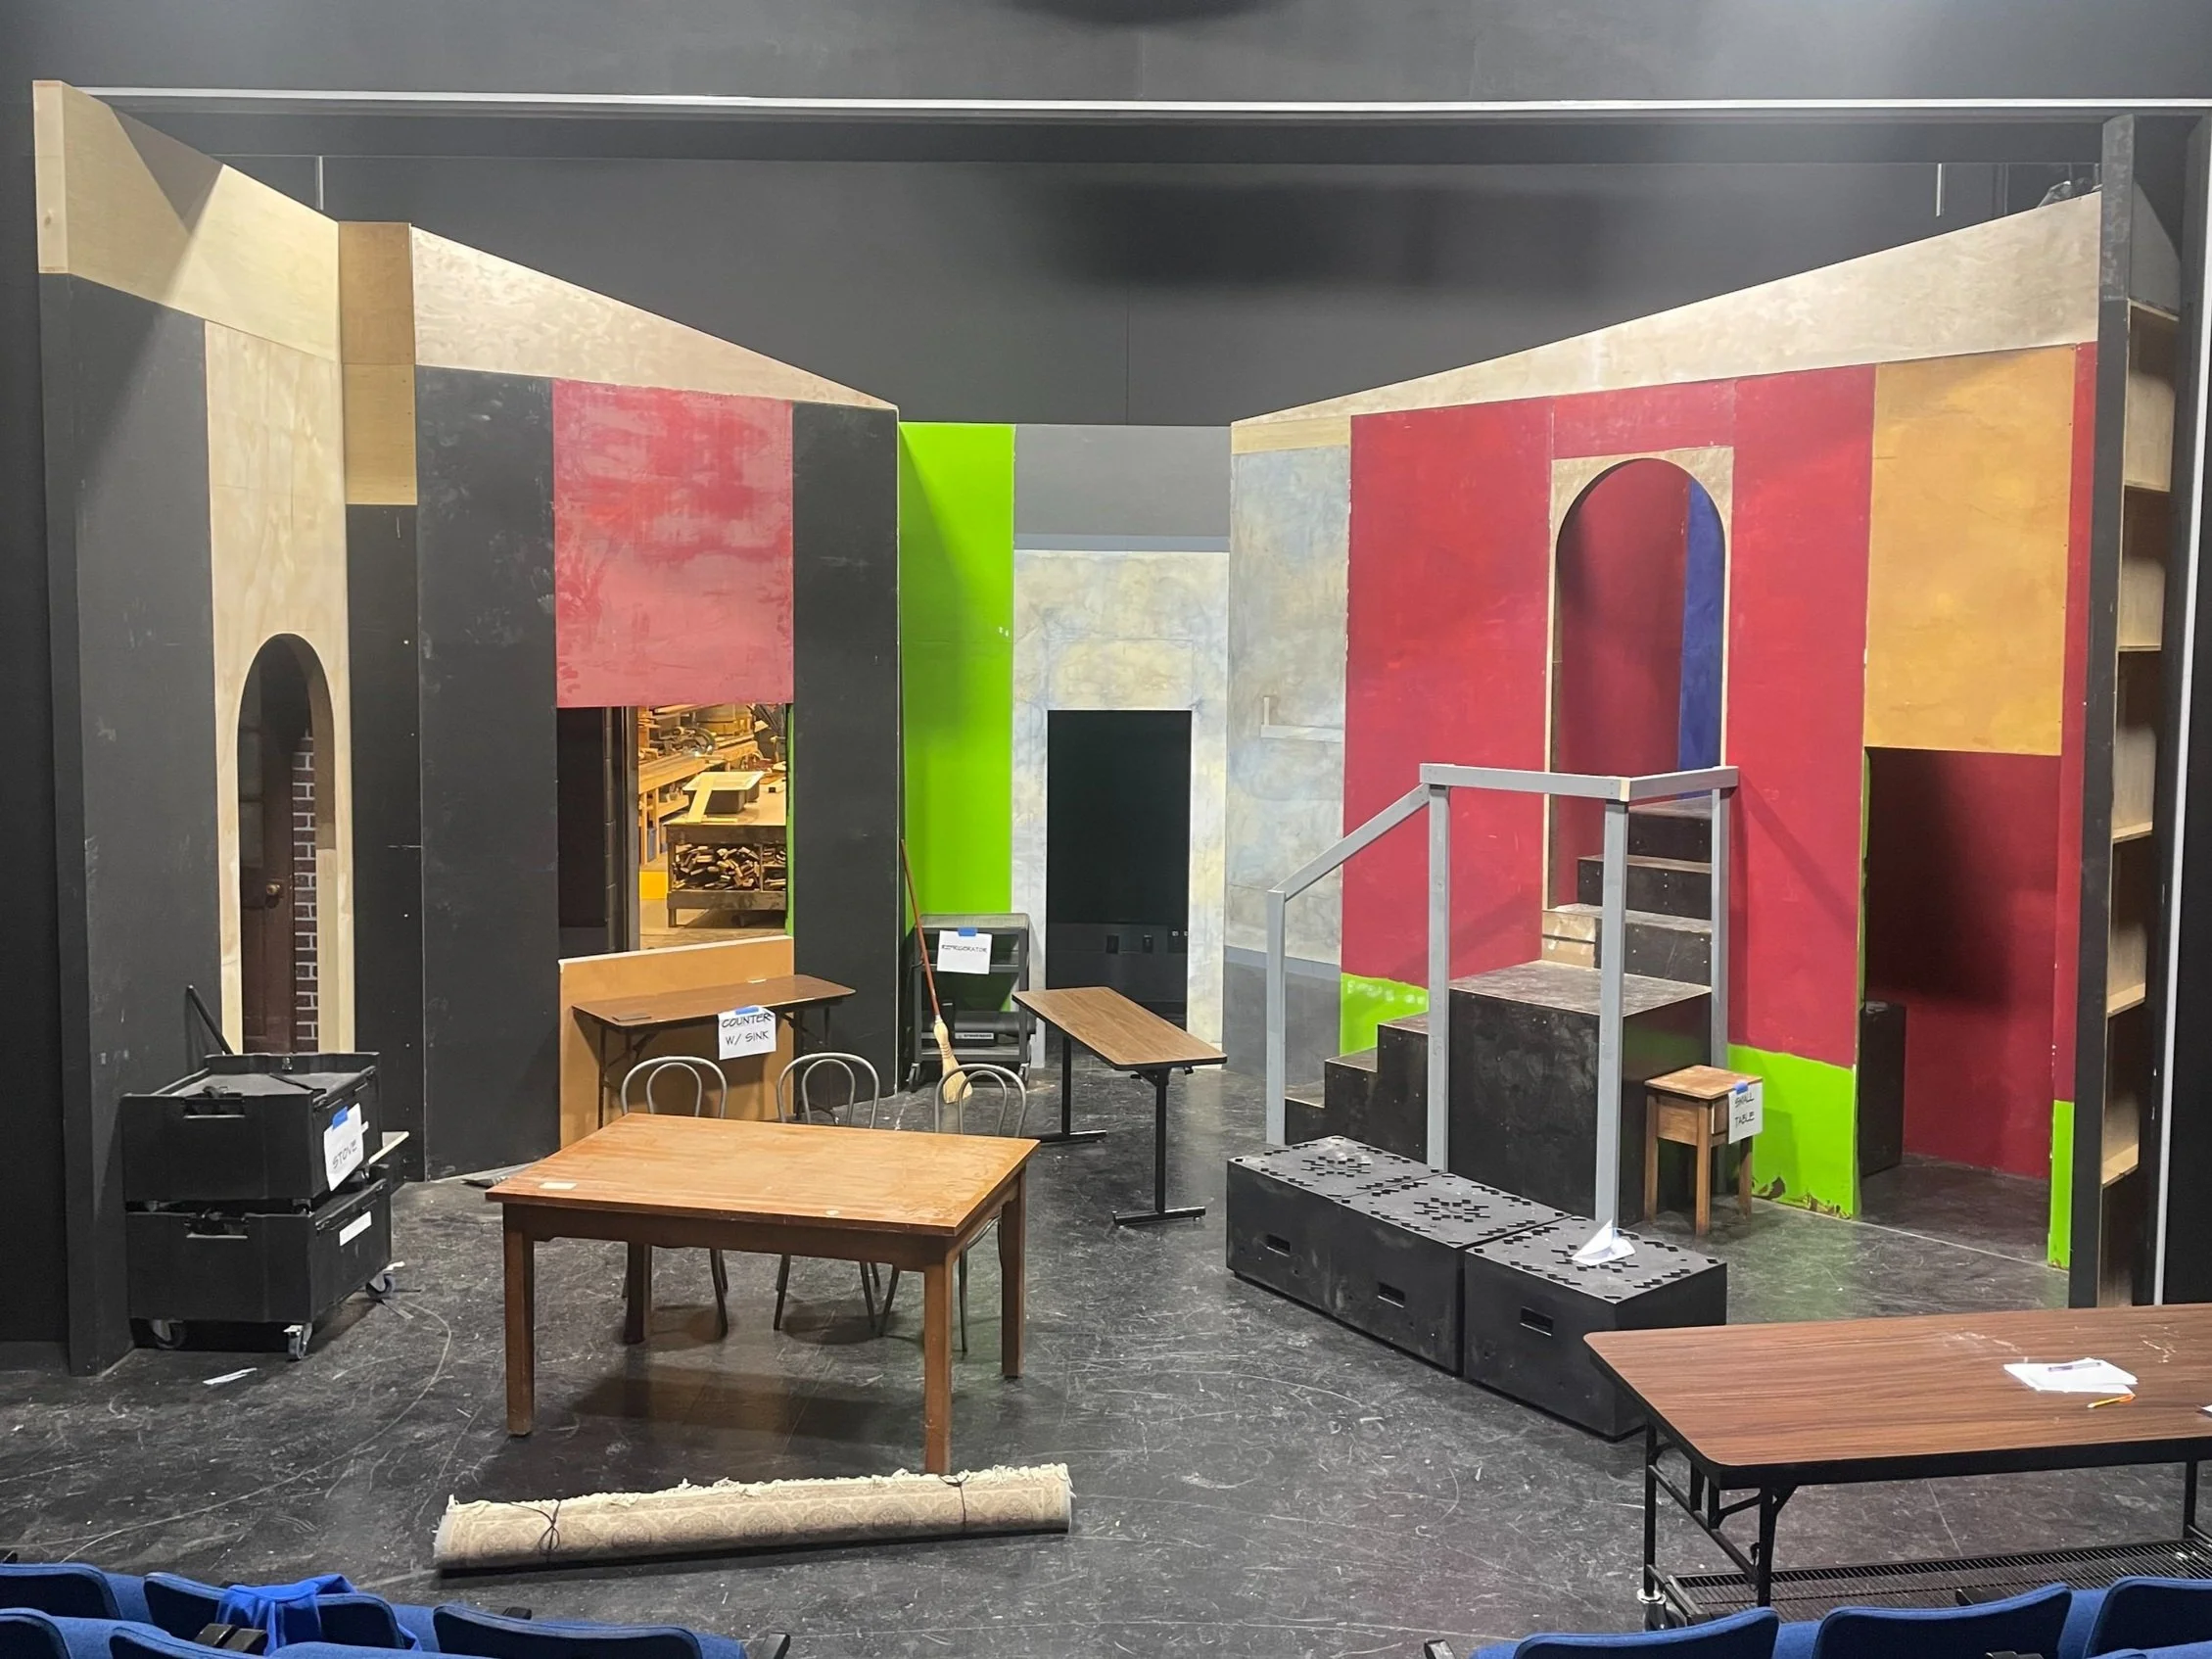
Setting up the stage
Walls
Technical Director built stairs first to build walls around them
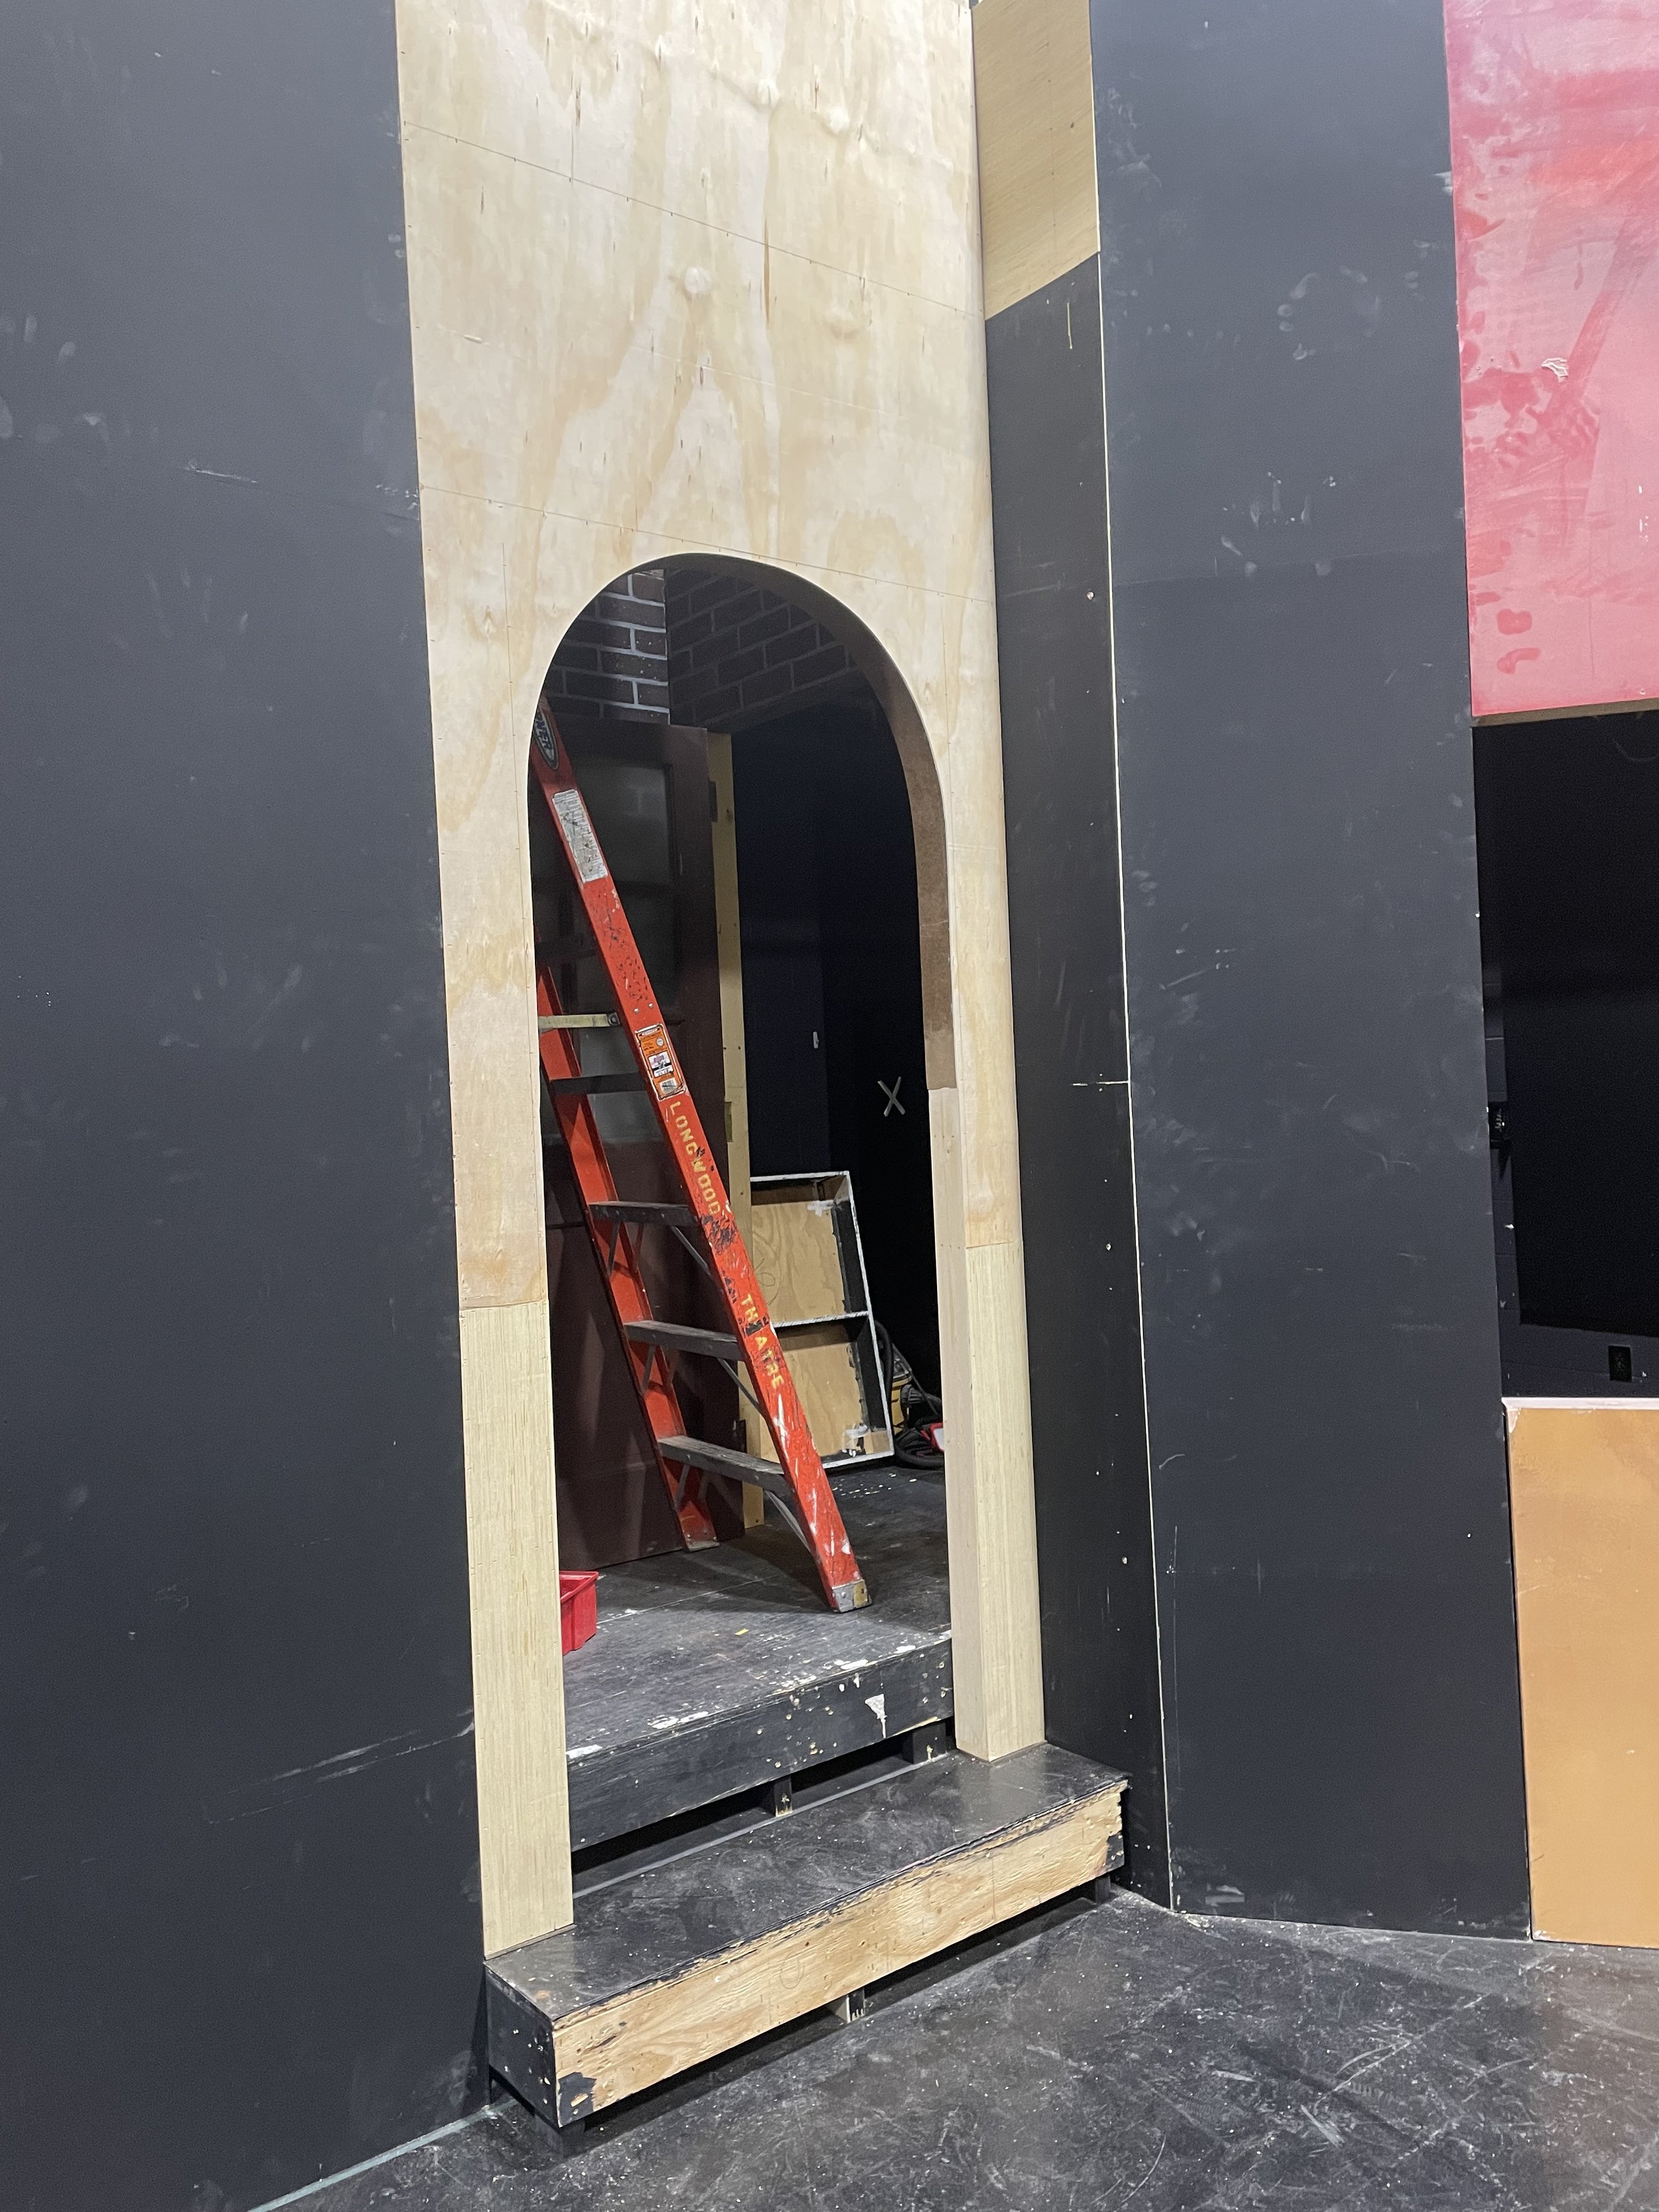
Most flats used for the walls were repurposed from pervious shows while some with doors and archways were either repurposed from other flats or built from scratch.
Different sections went up at a time to provide stability to the set.
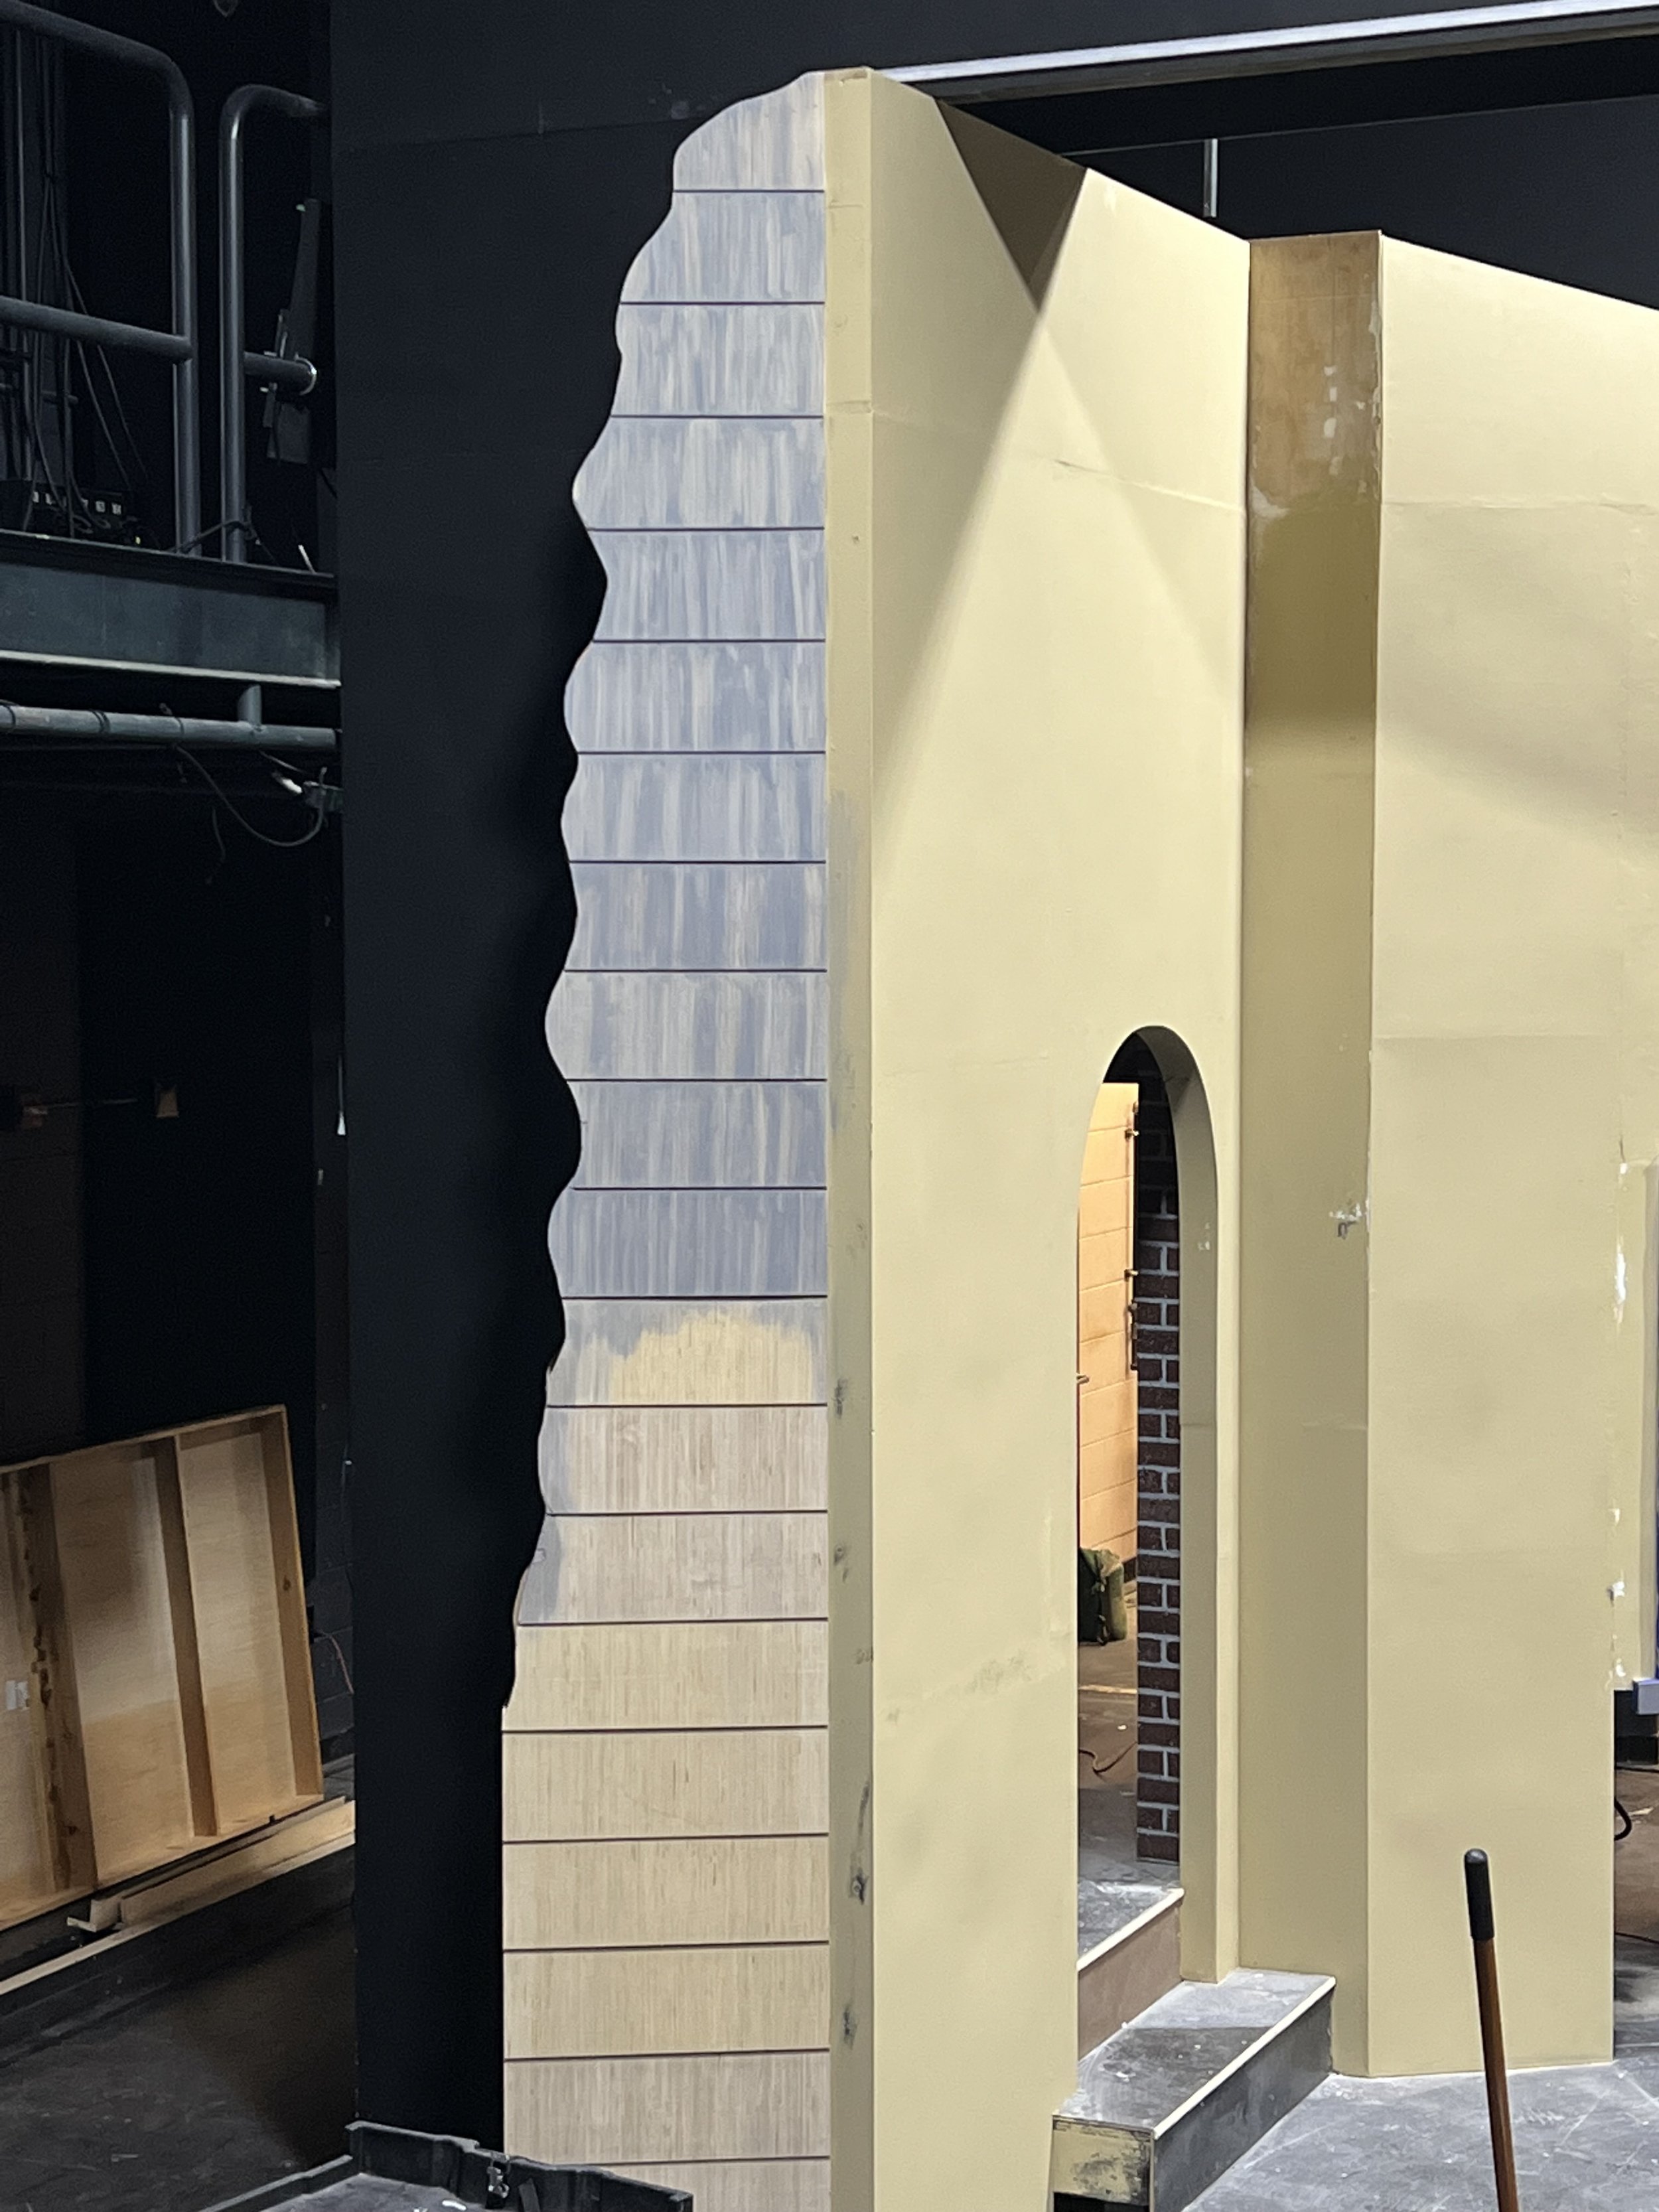
Triangles were added to the top of the stage to provide a downward direction perspective for the audience towards upstage center.
Cutaway flats on the Left and Right to provide a frame of the set.
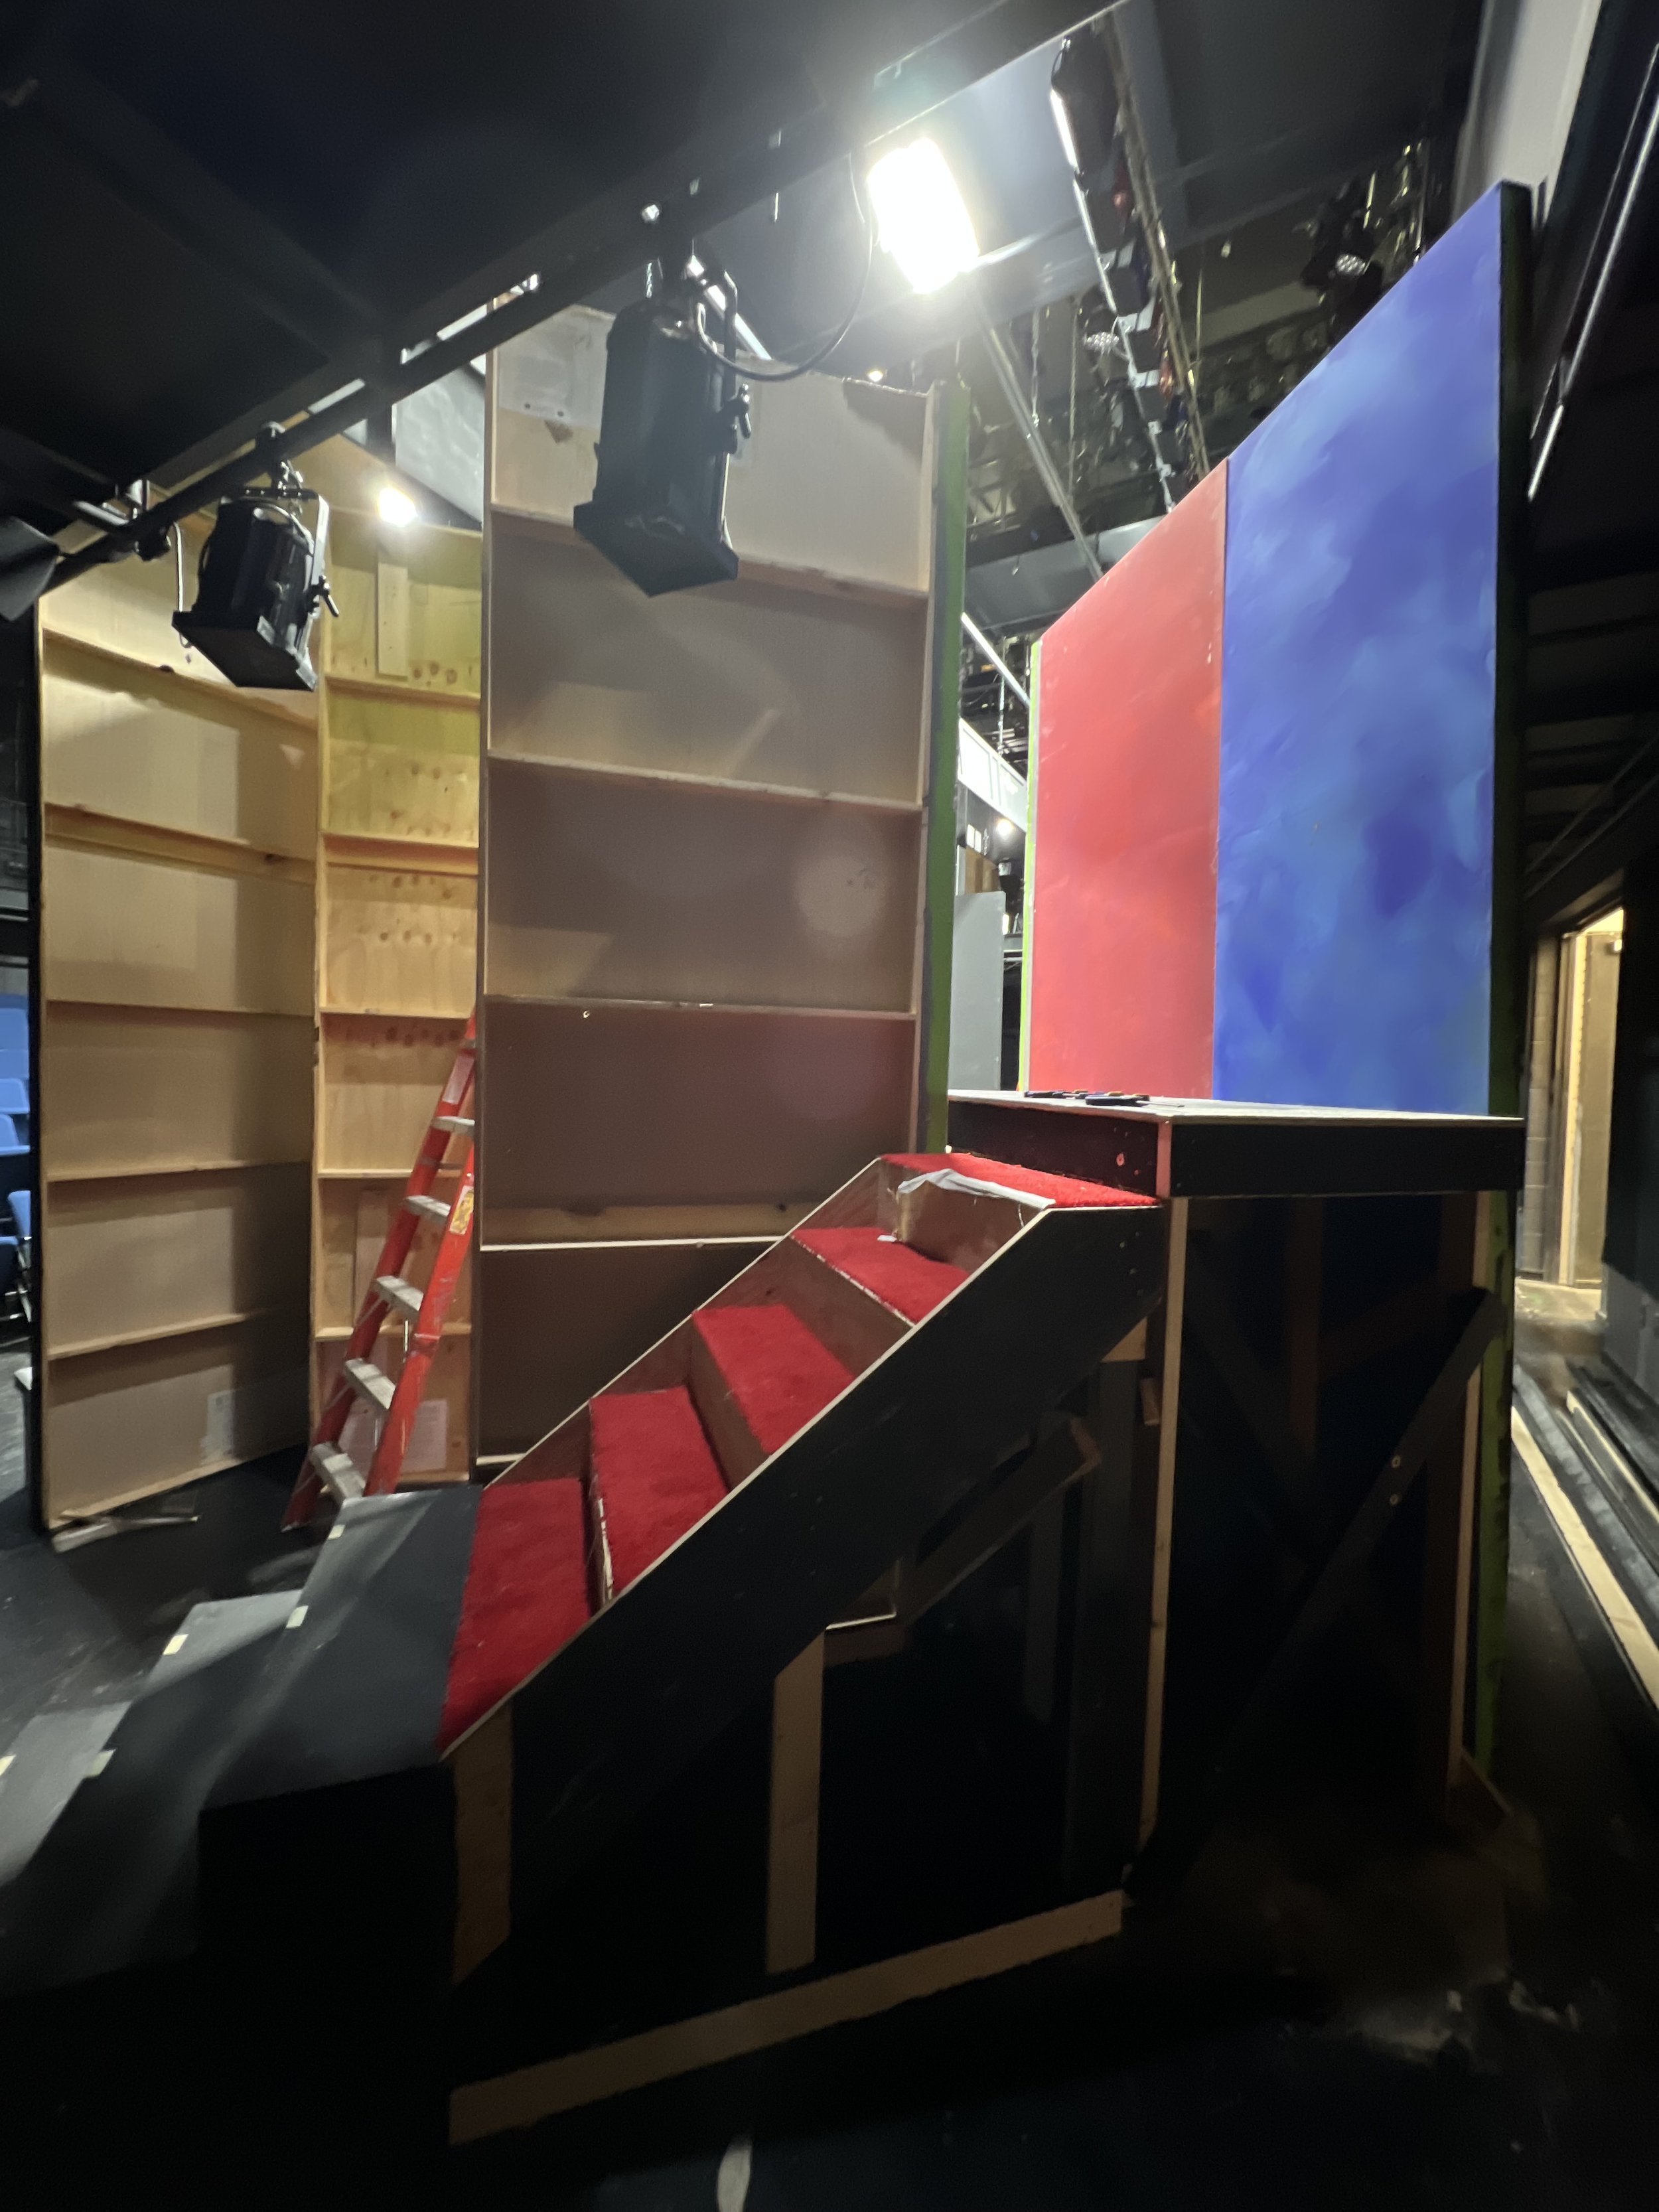

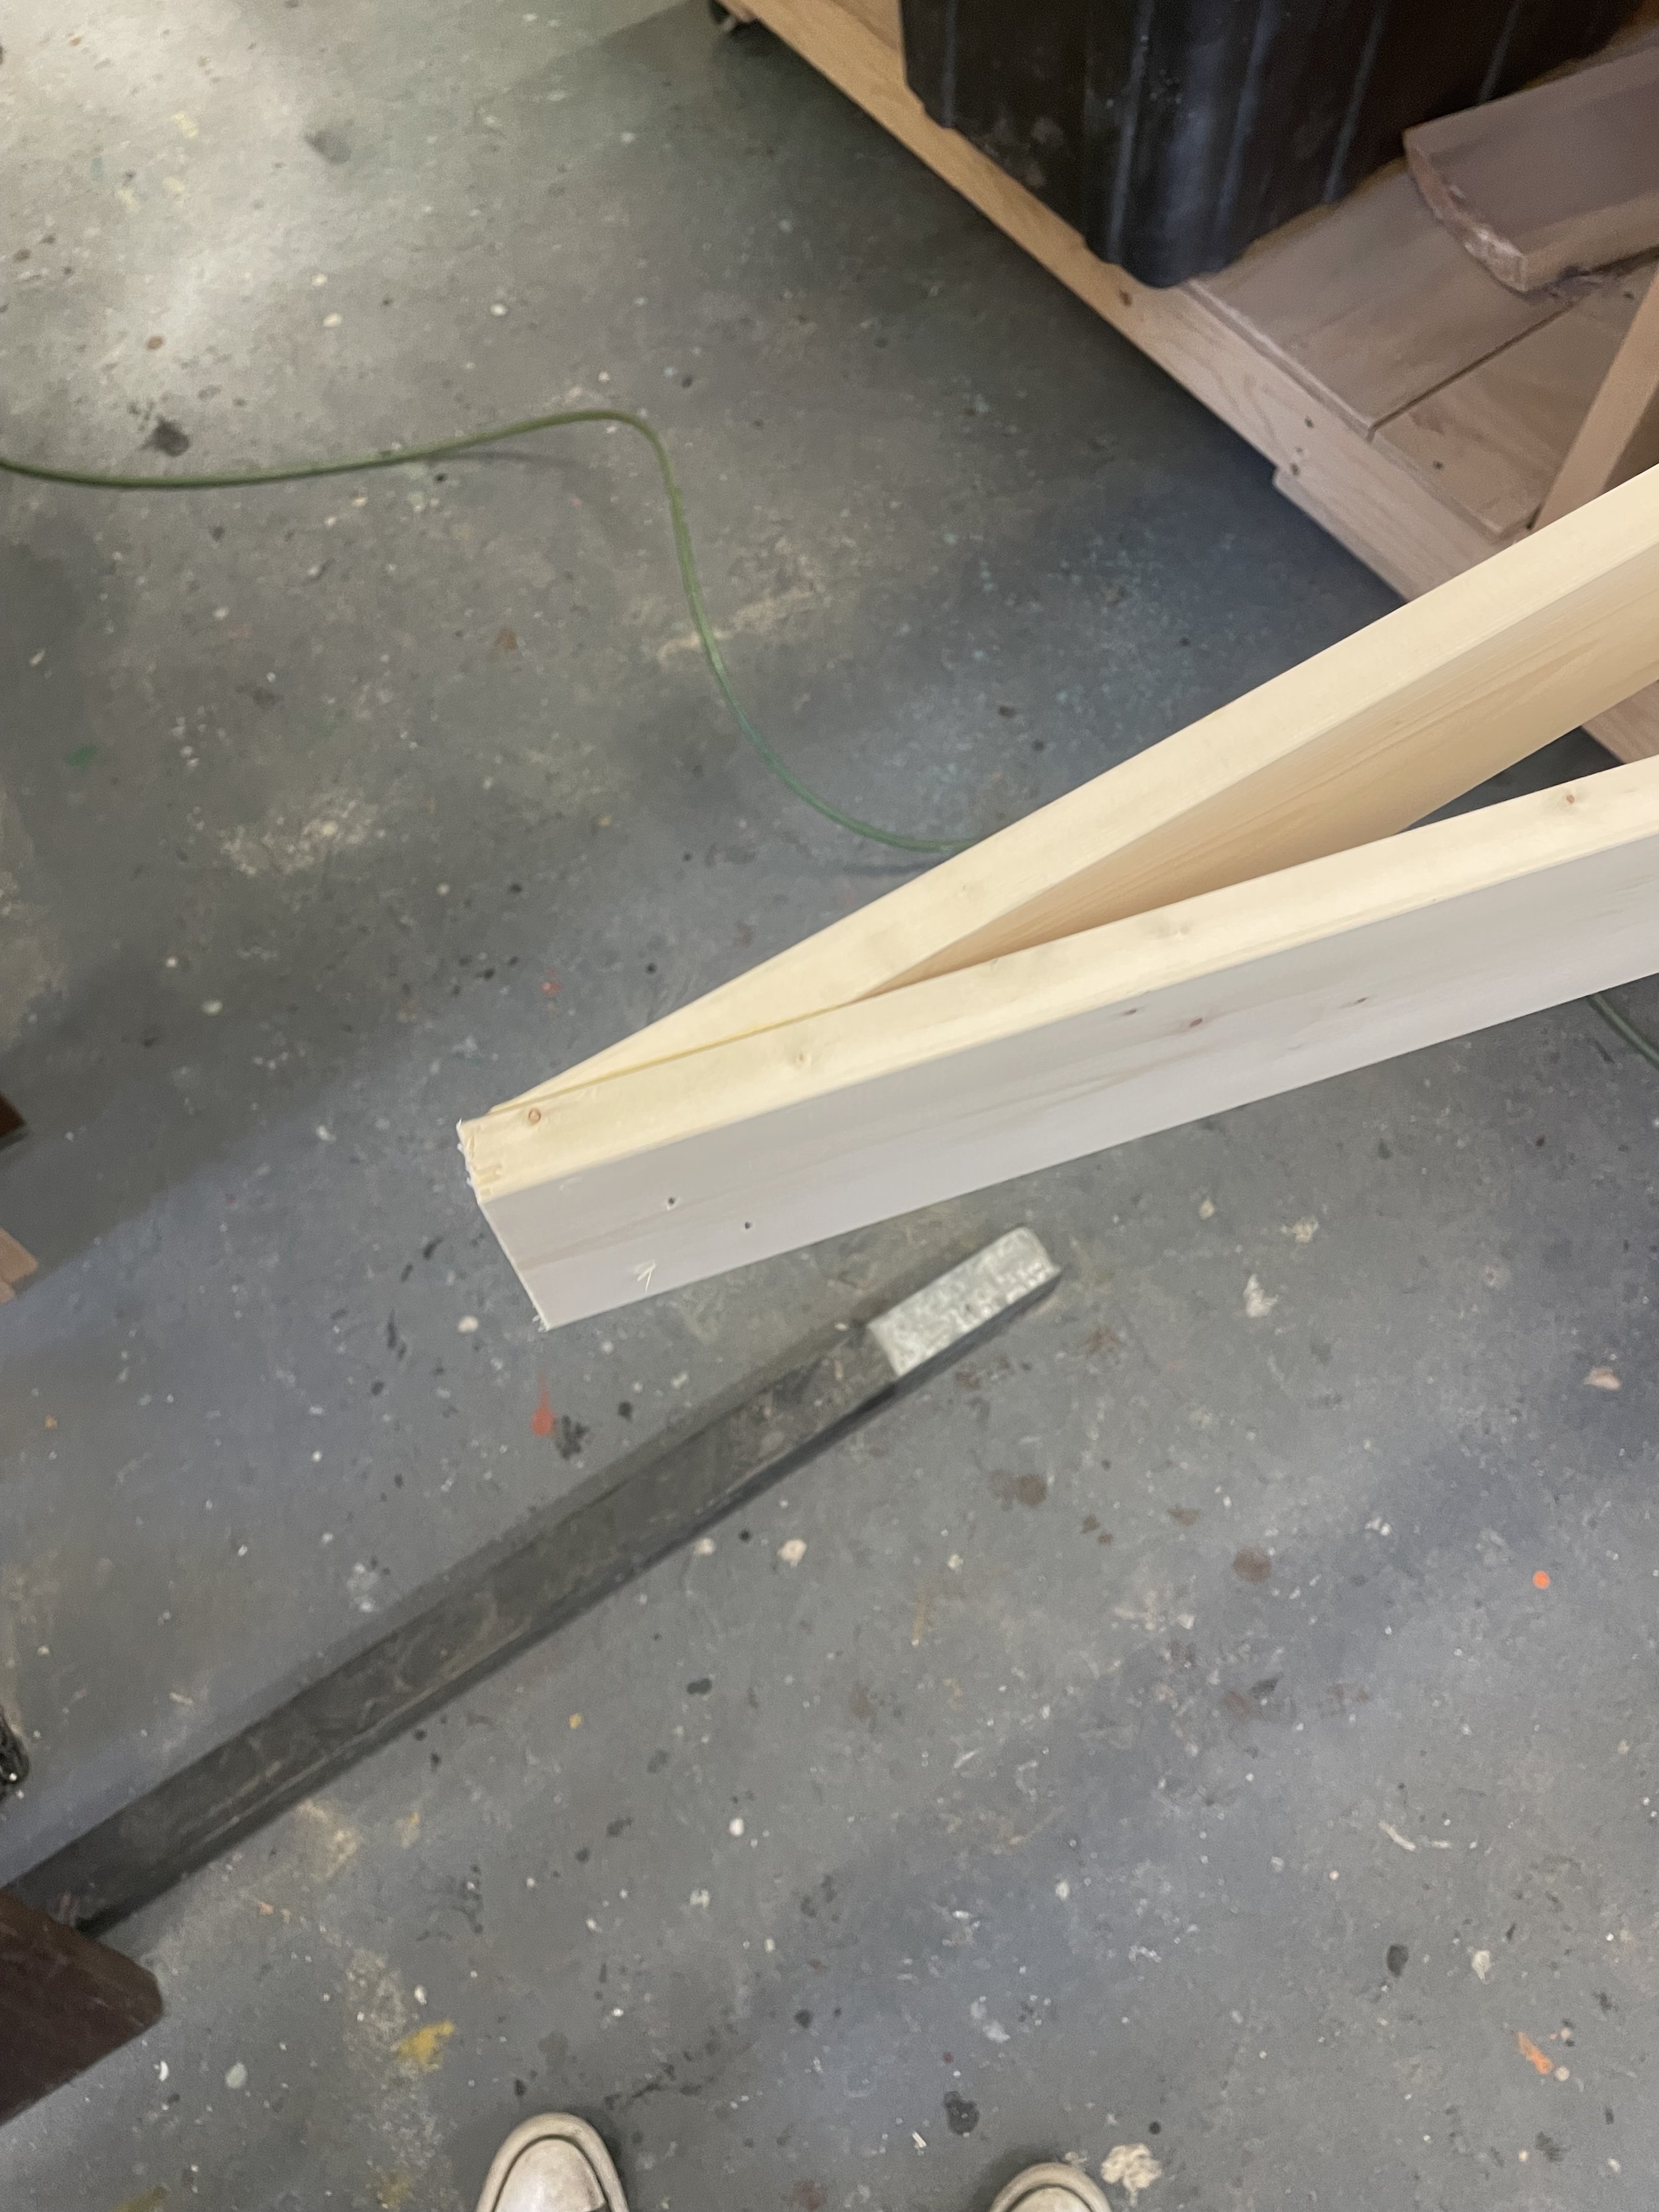
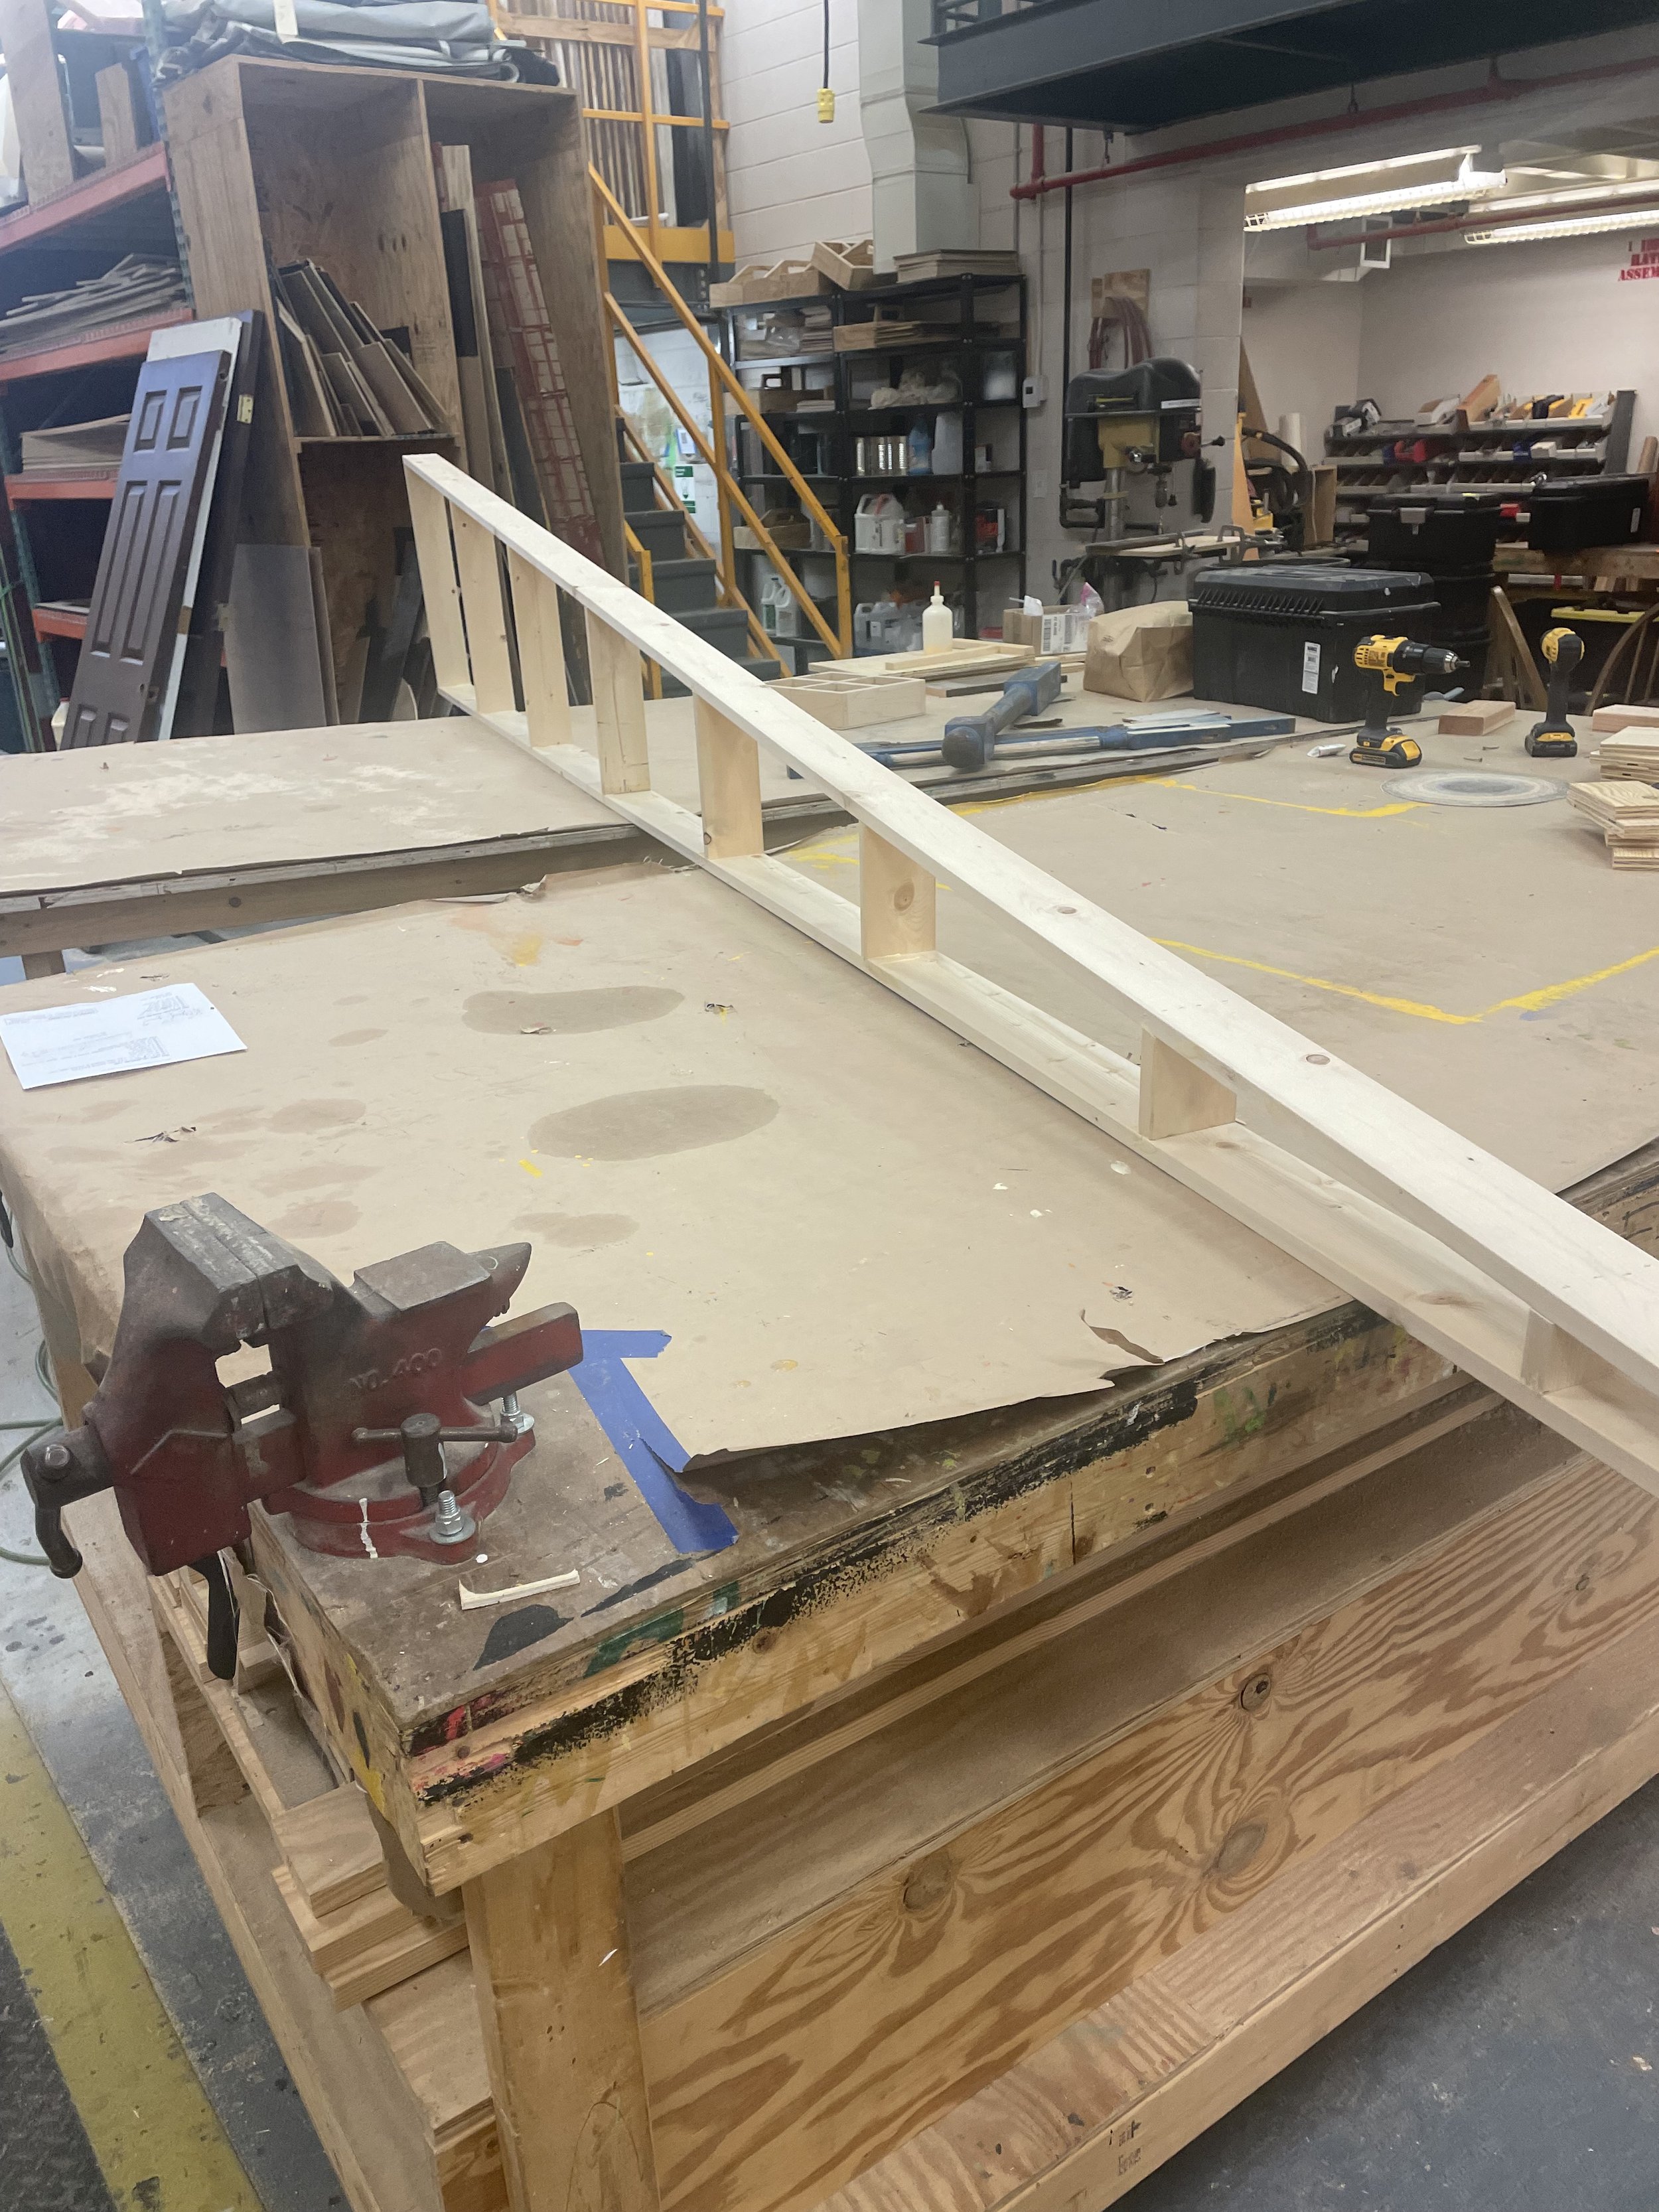
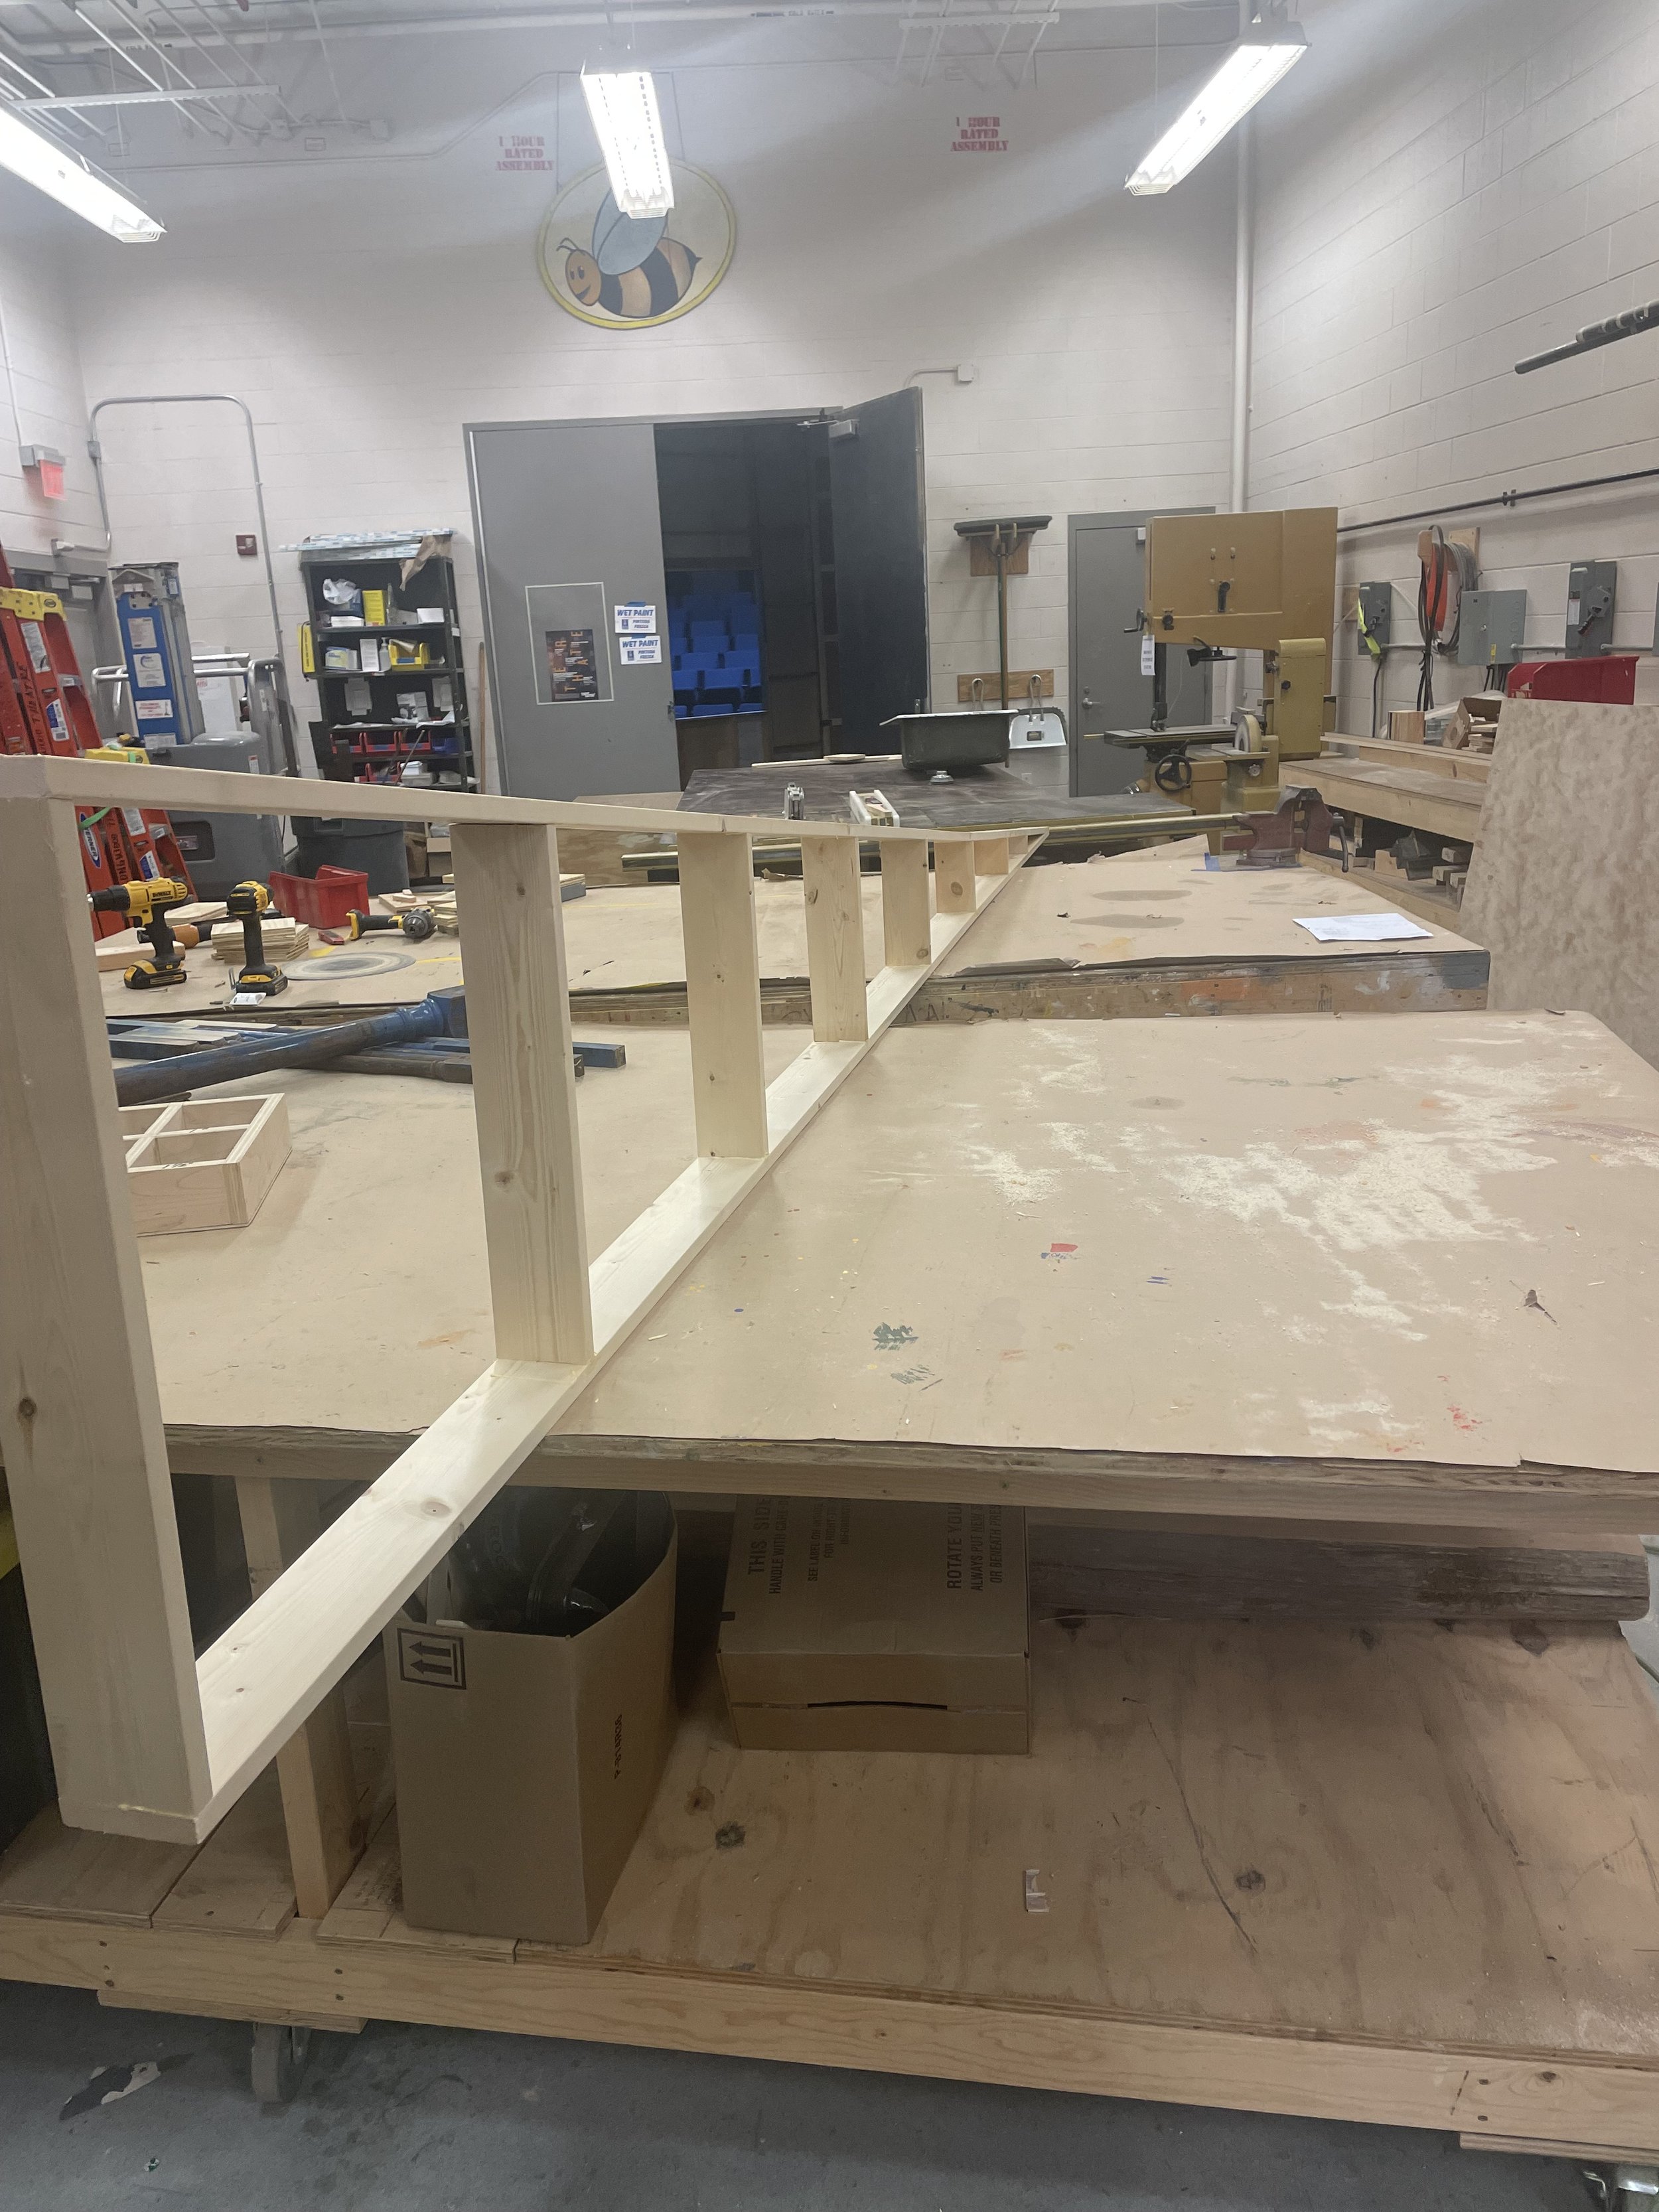
Triangle Walls

Process
Followed the cut list and plans provided to me by the Technical Director.
While cutting I marked each piece with the correct measurement on it based on the cut list and plans
To find the correct measurement for the top of the 16’ triangle flat, we attached the tallest style to the bottom piece and then we took a 16’ 1’ x 4” and marked out where to cut our angles
Once that was cut and attached we put in the smaller toggles in the flat and skinned it with 1/8'“ luan.
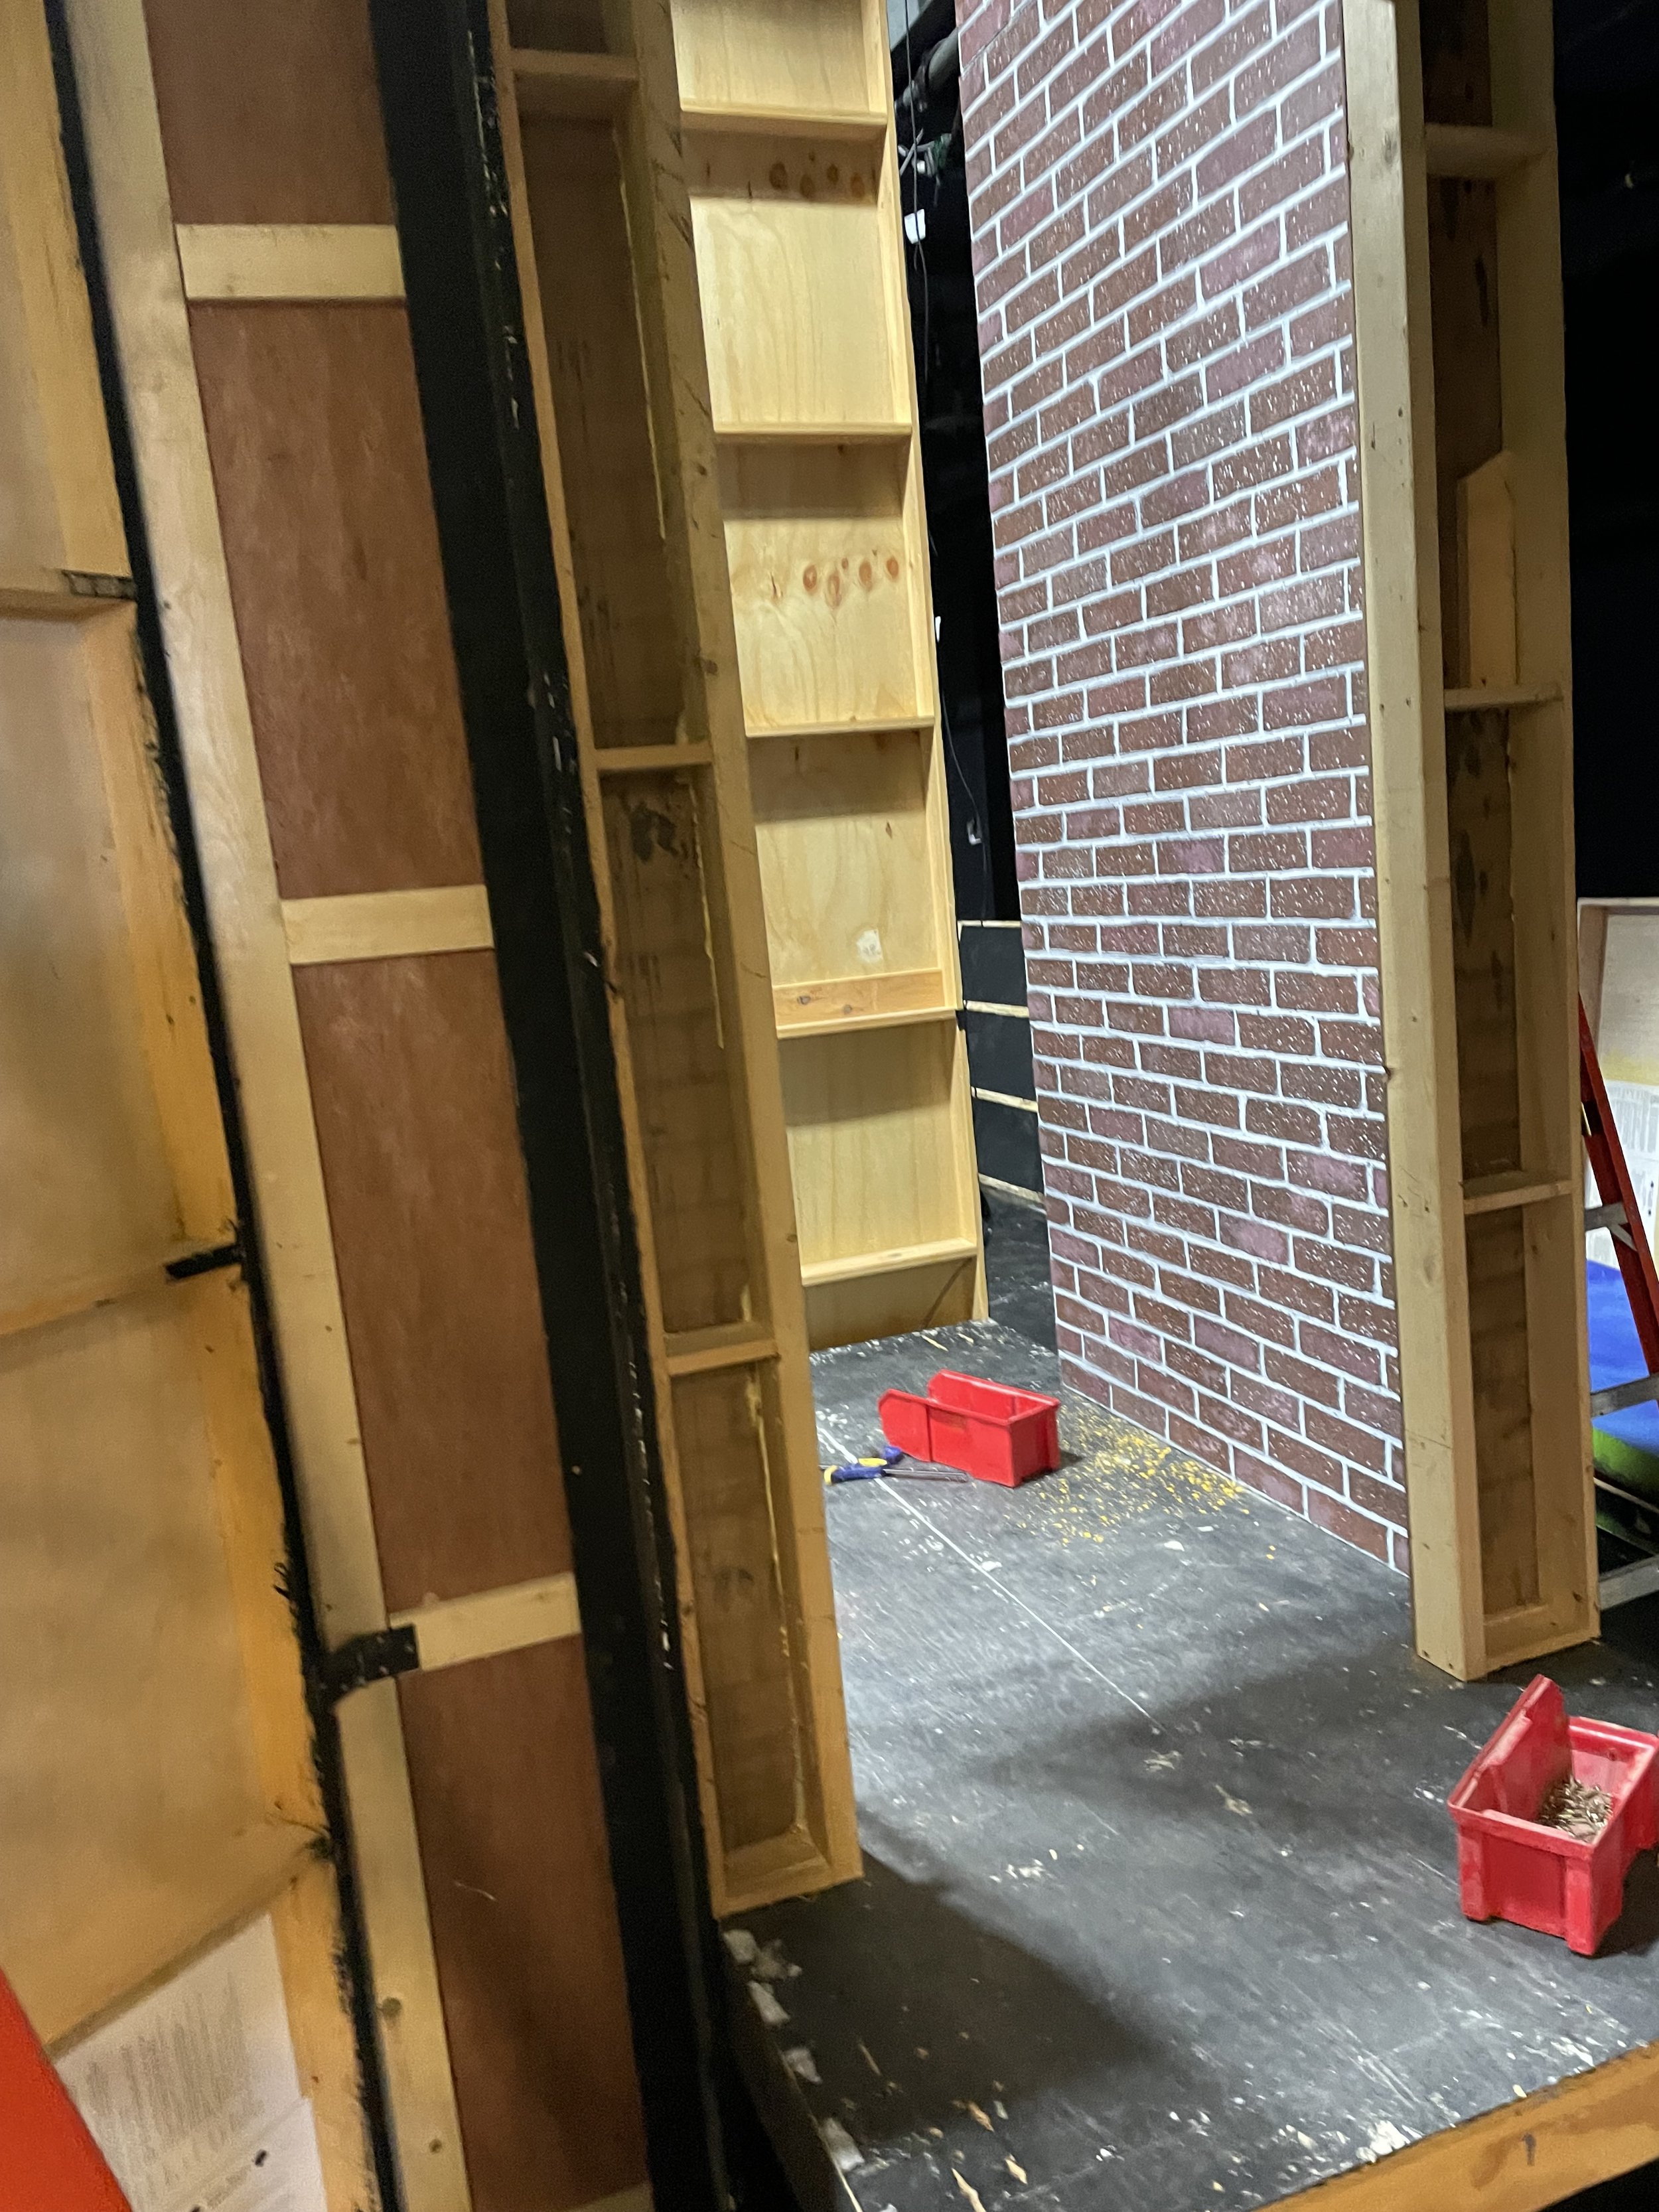
Cutaway Walls

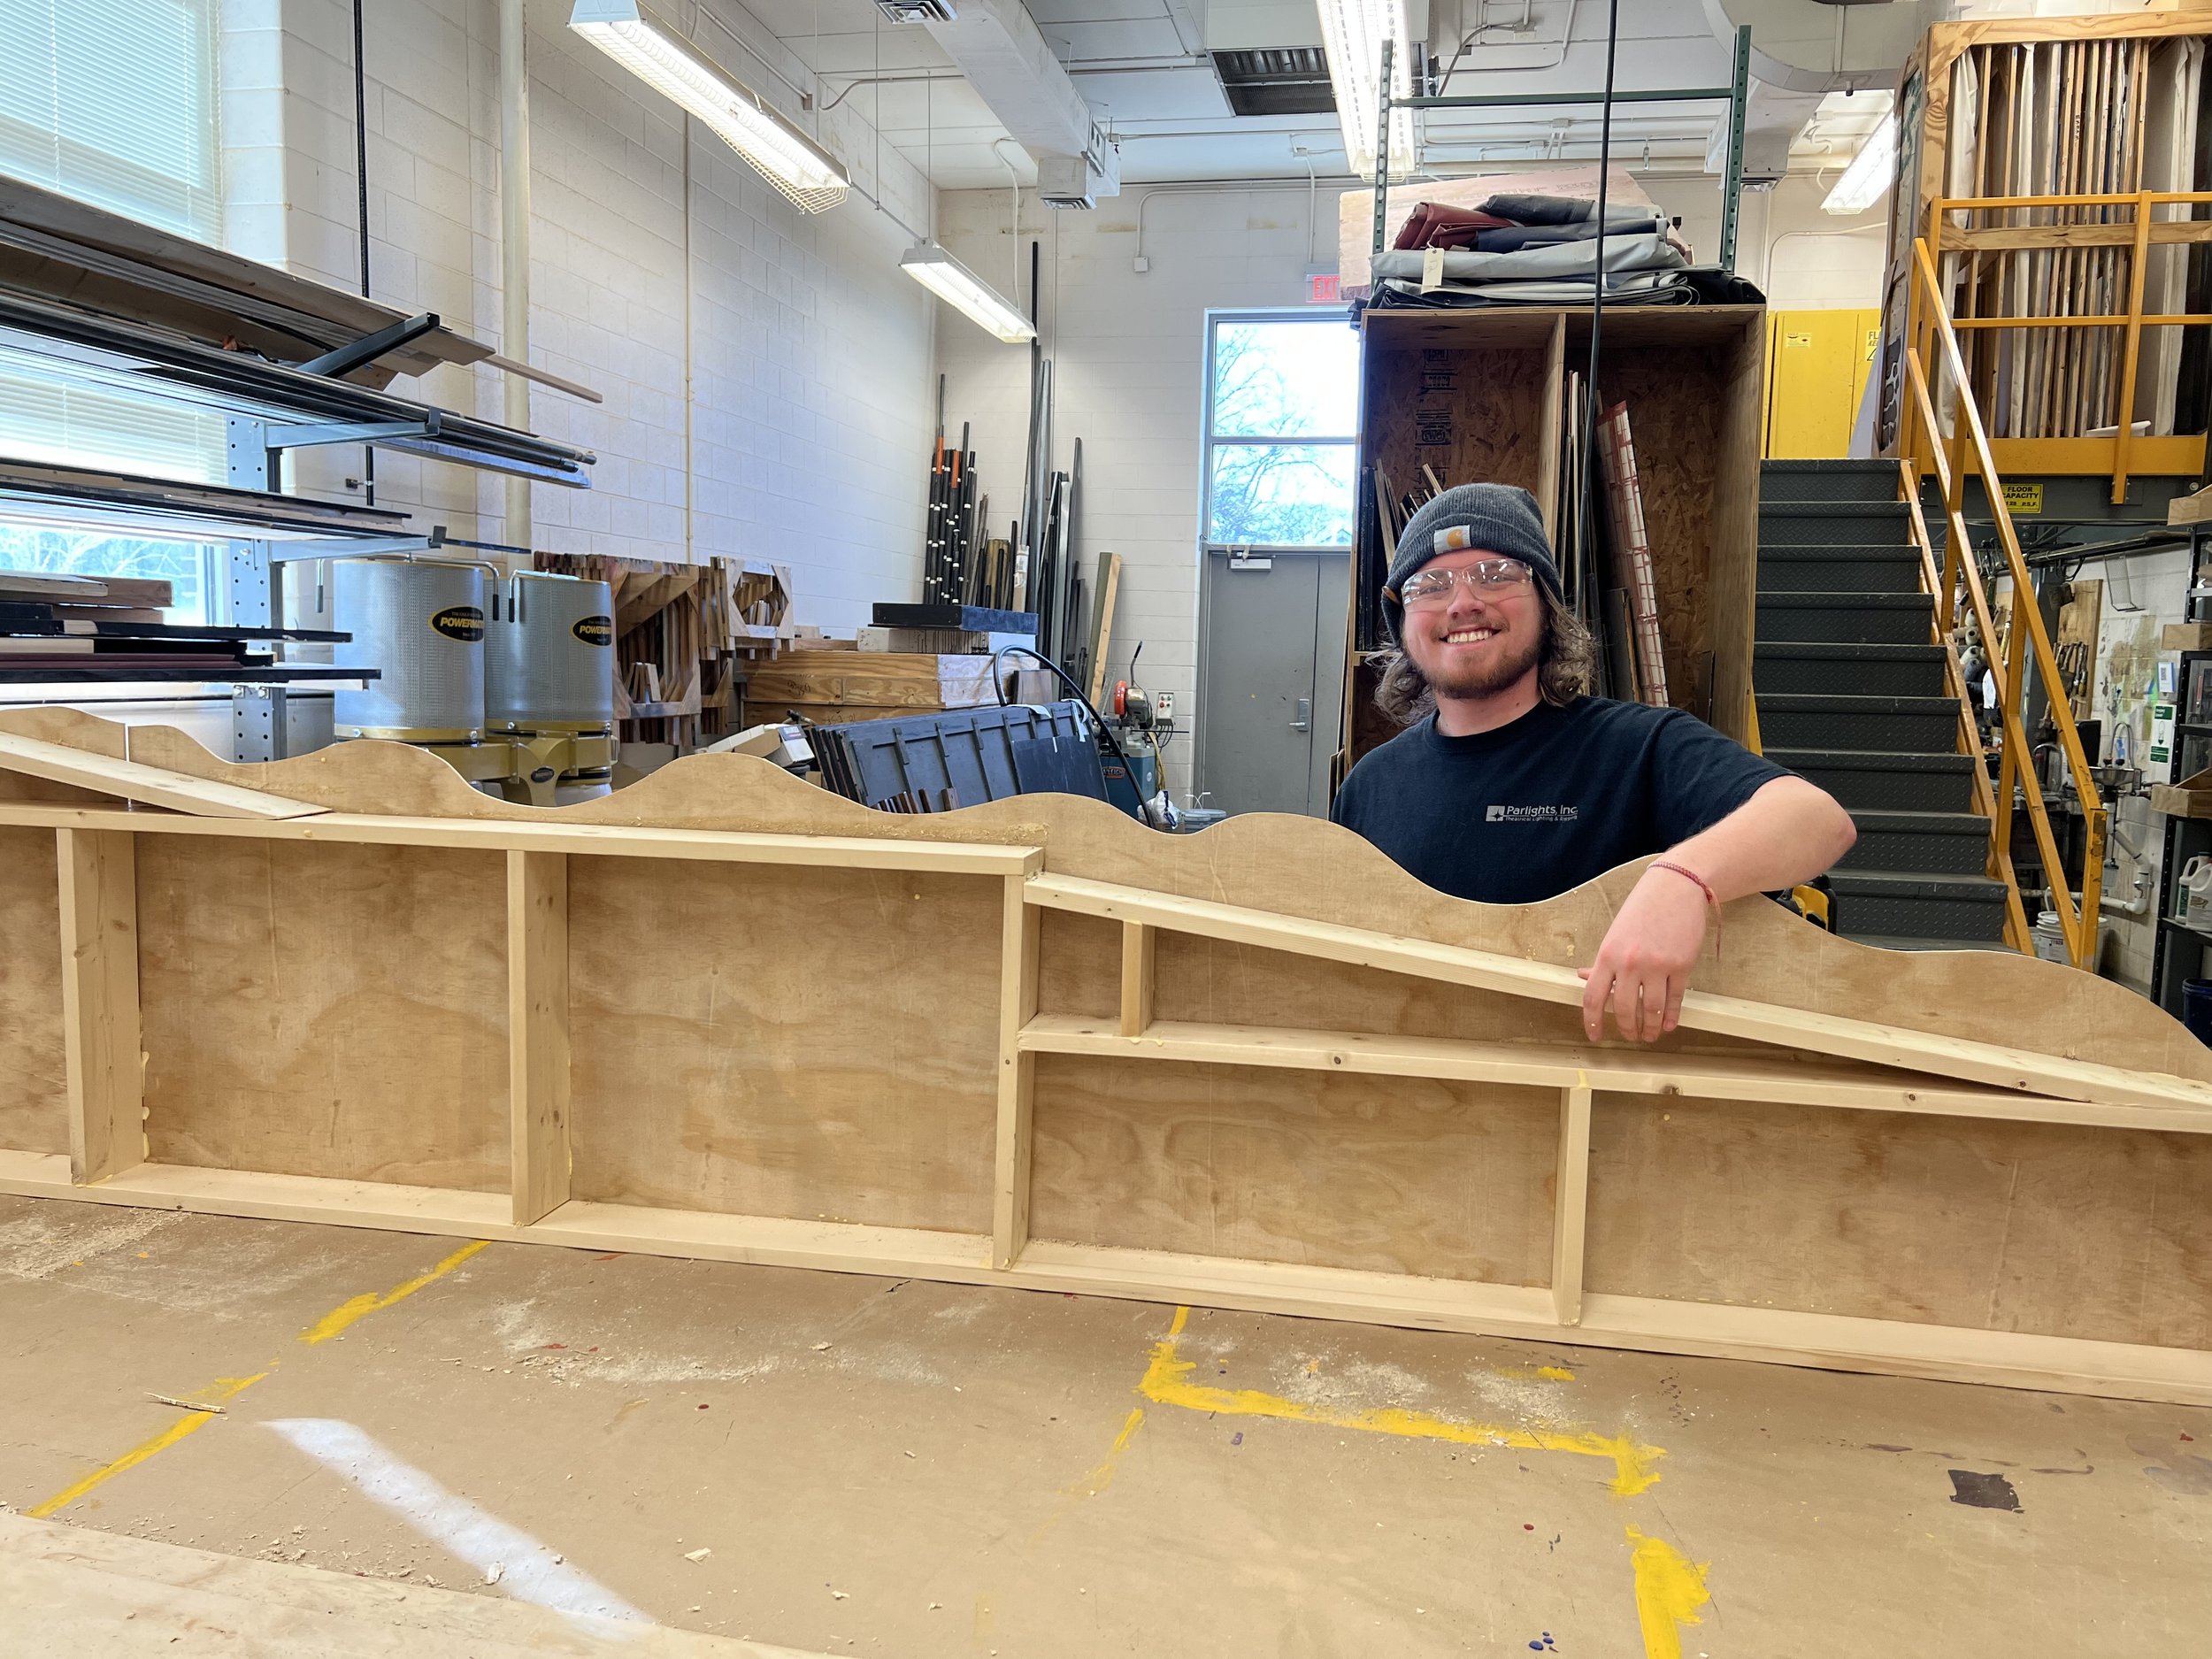
Process
Followed the cut list and plans provided to me by the Technical Director.
While cutting I marked each piece with the correct measurement on it based on the cut list and plans
Laid out the longest piece and then framed the bottom half
Skinned the bottom and the top half of the flat, so we can finish framing to the luan
After frame is built attach the luan to the new parts of the frame
Cut out sheets of 1/8” Luan that are 8”x 1’
Started at the bottom and lined it up with the bottom and attached it. After that the second one was overlapped about an inch. Continued this to the top.
Jigsaw extra off and sand it down to make it smooth
Attach on stage and add other side of skin to the back side of the flat
Add paper to the gap and paint black to finish cutaway.


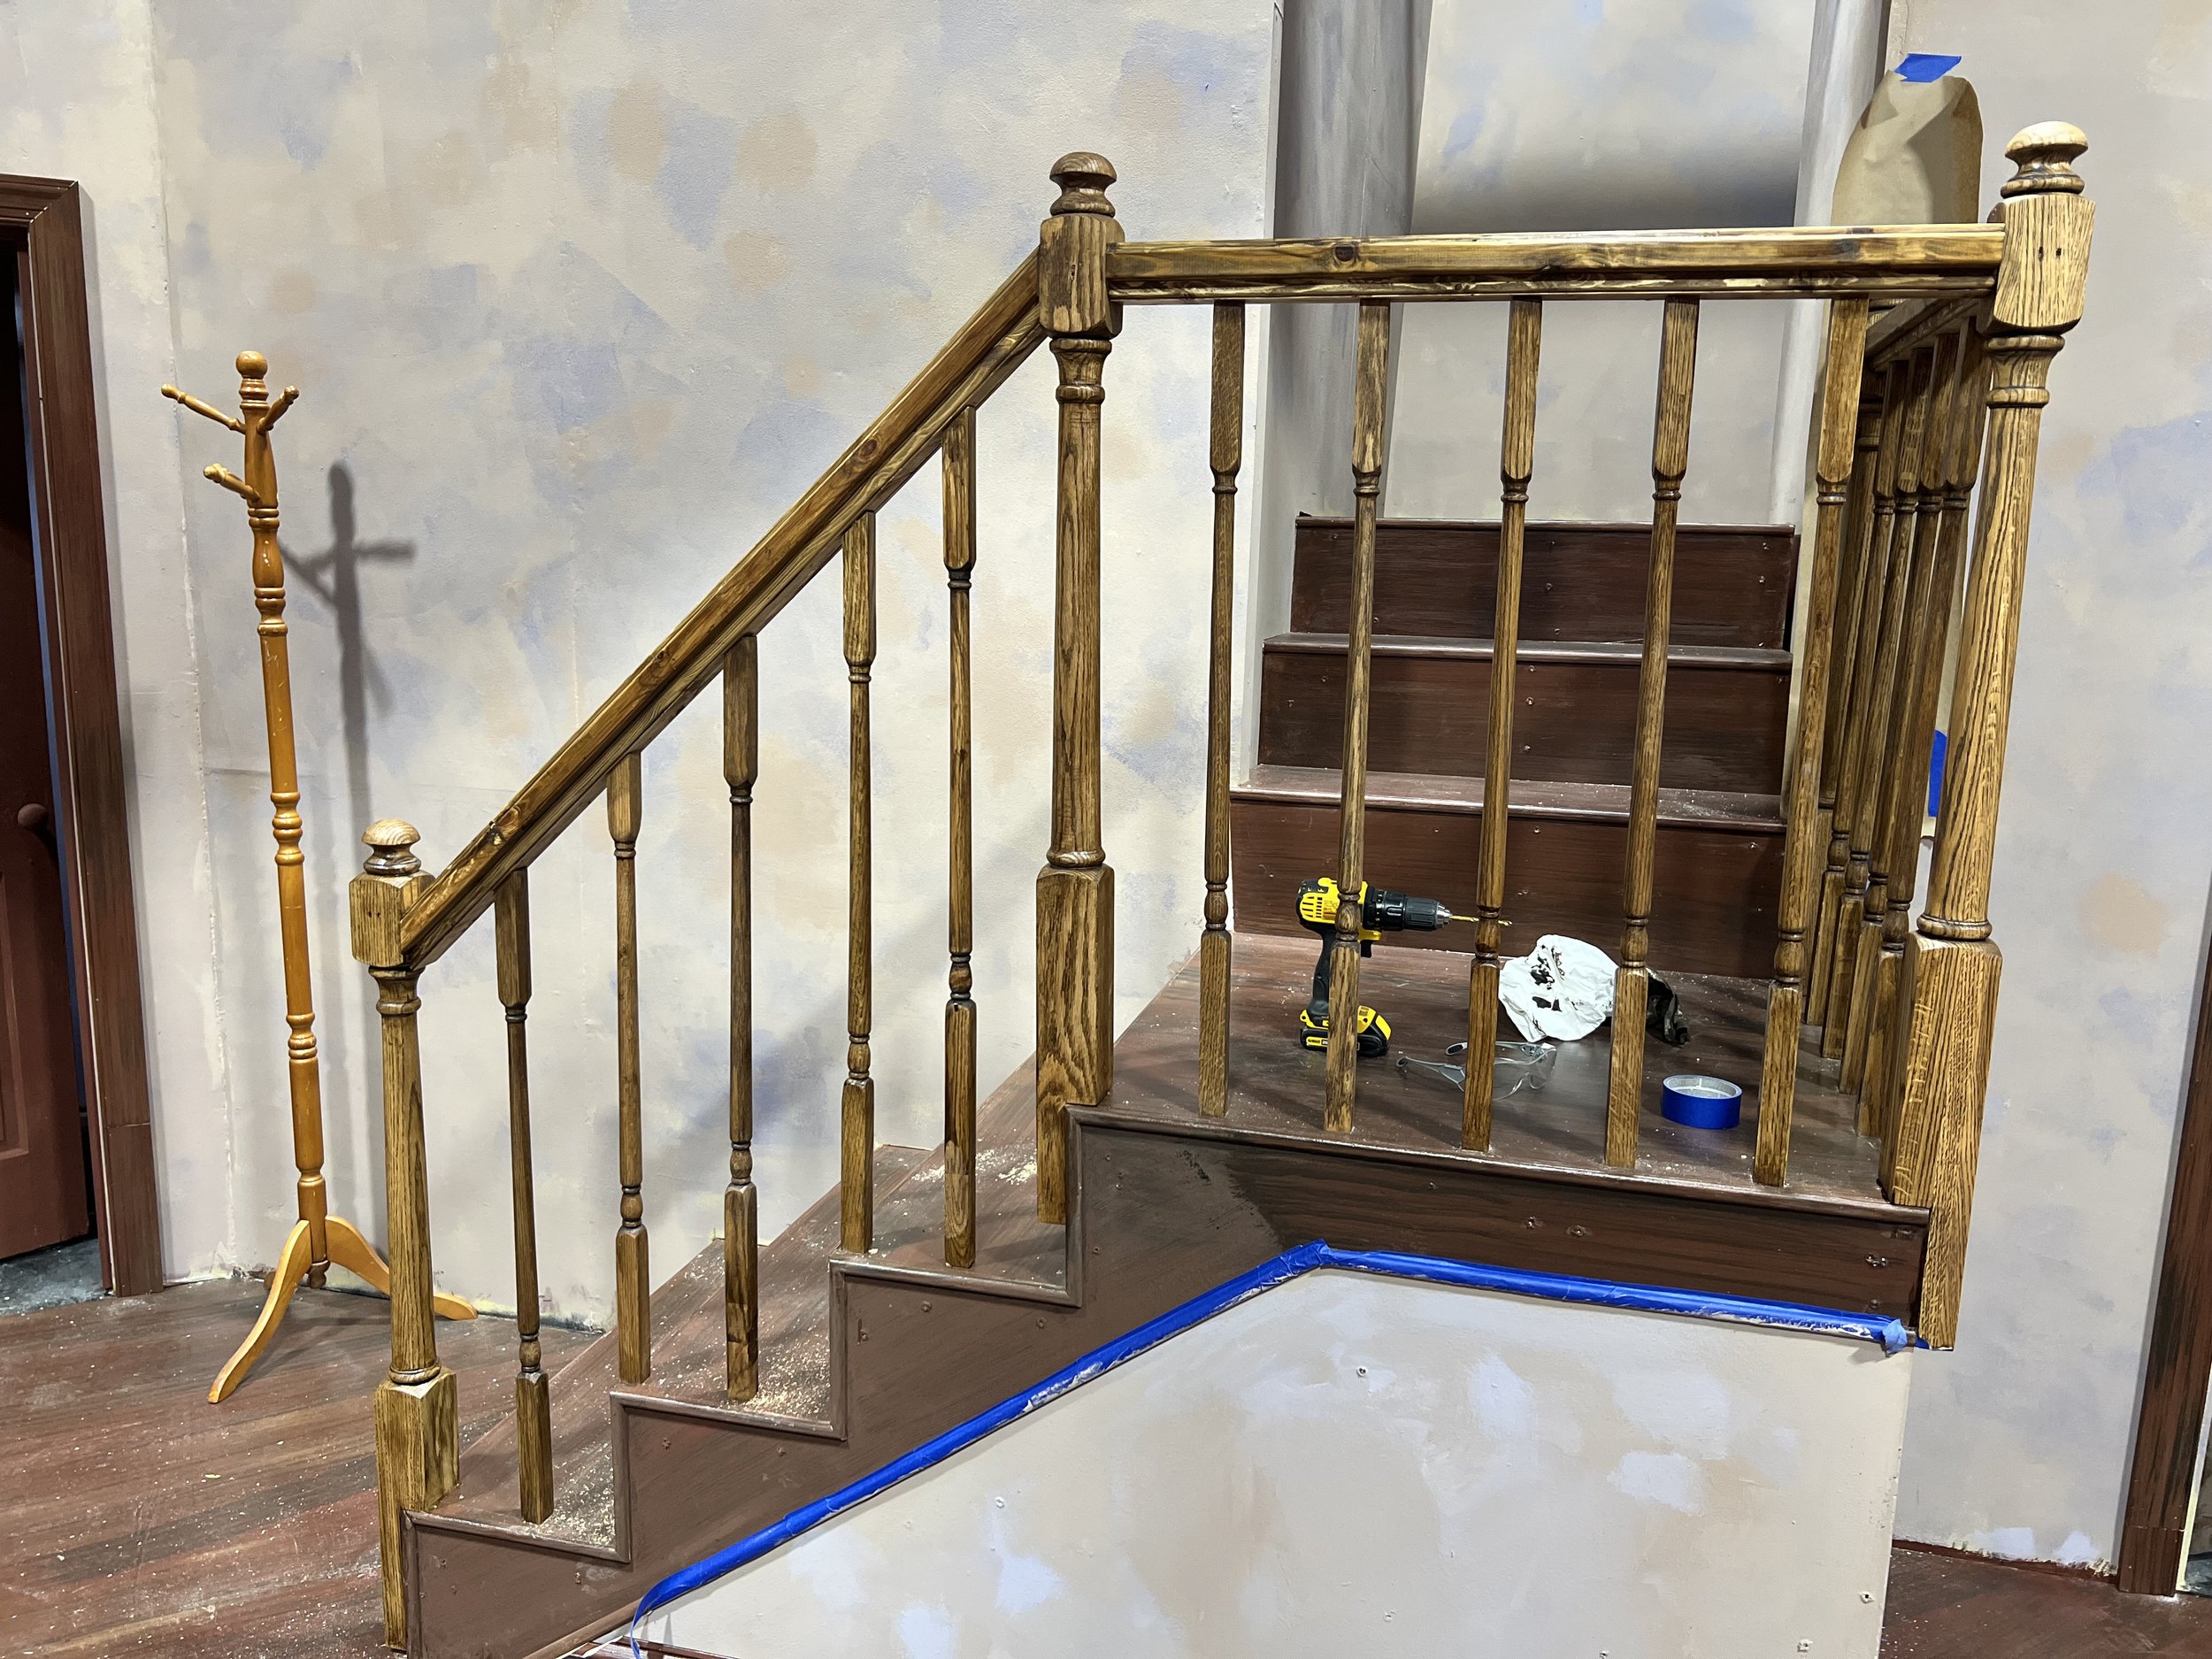
Balcony

Process
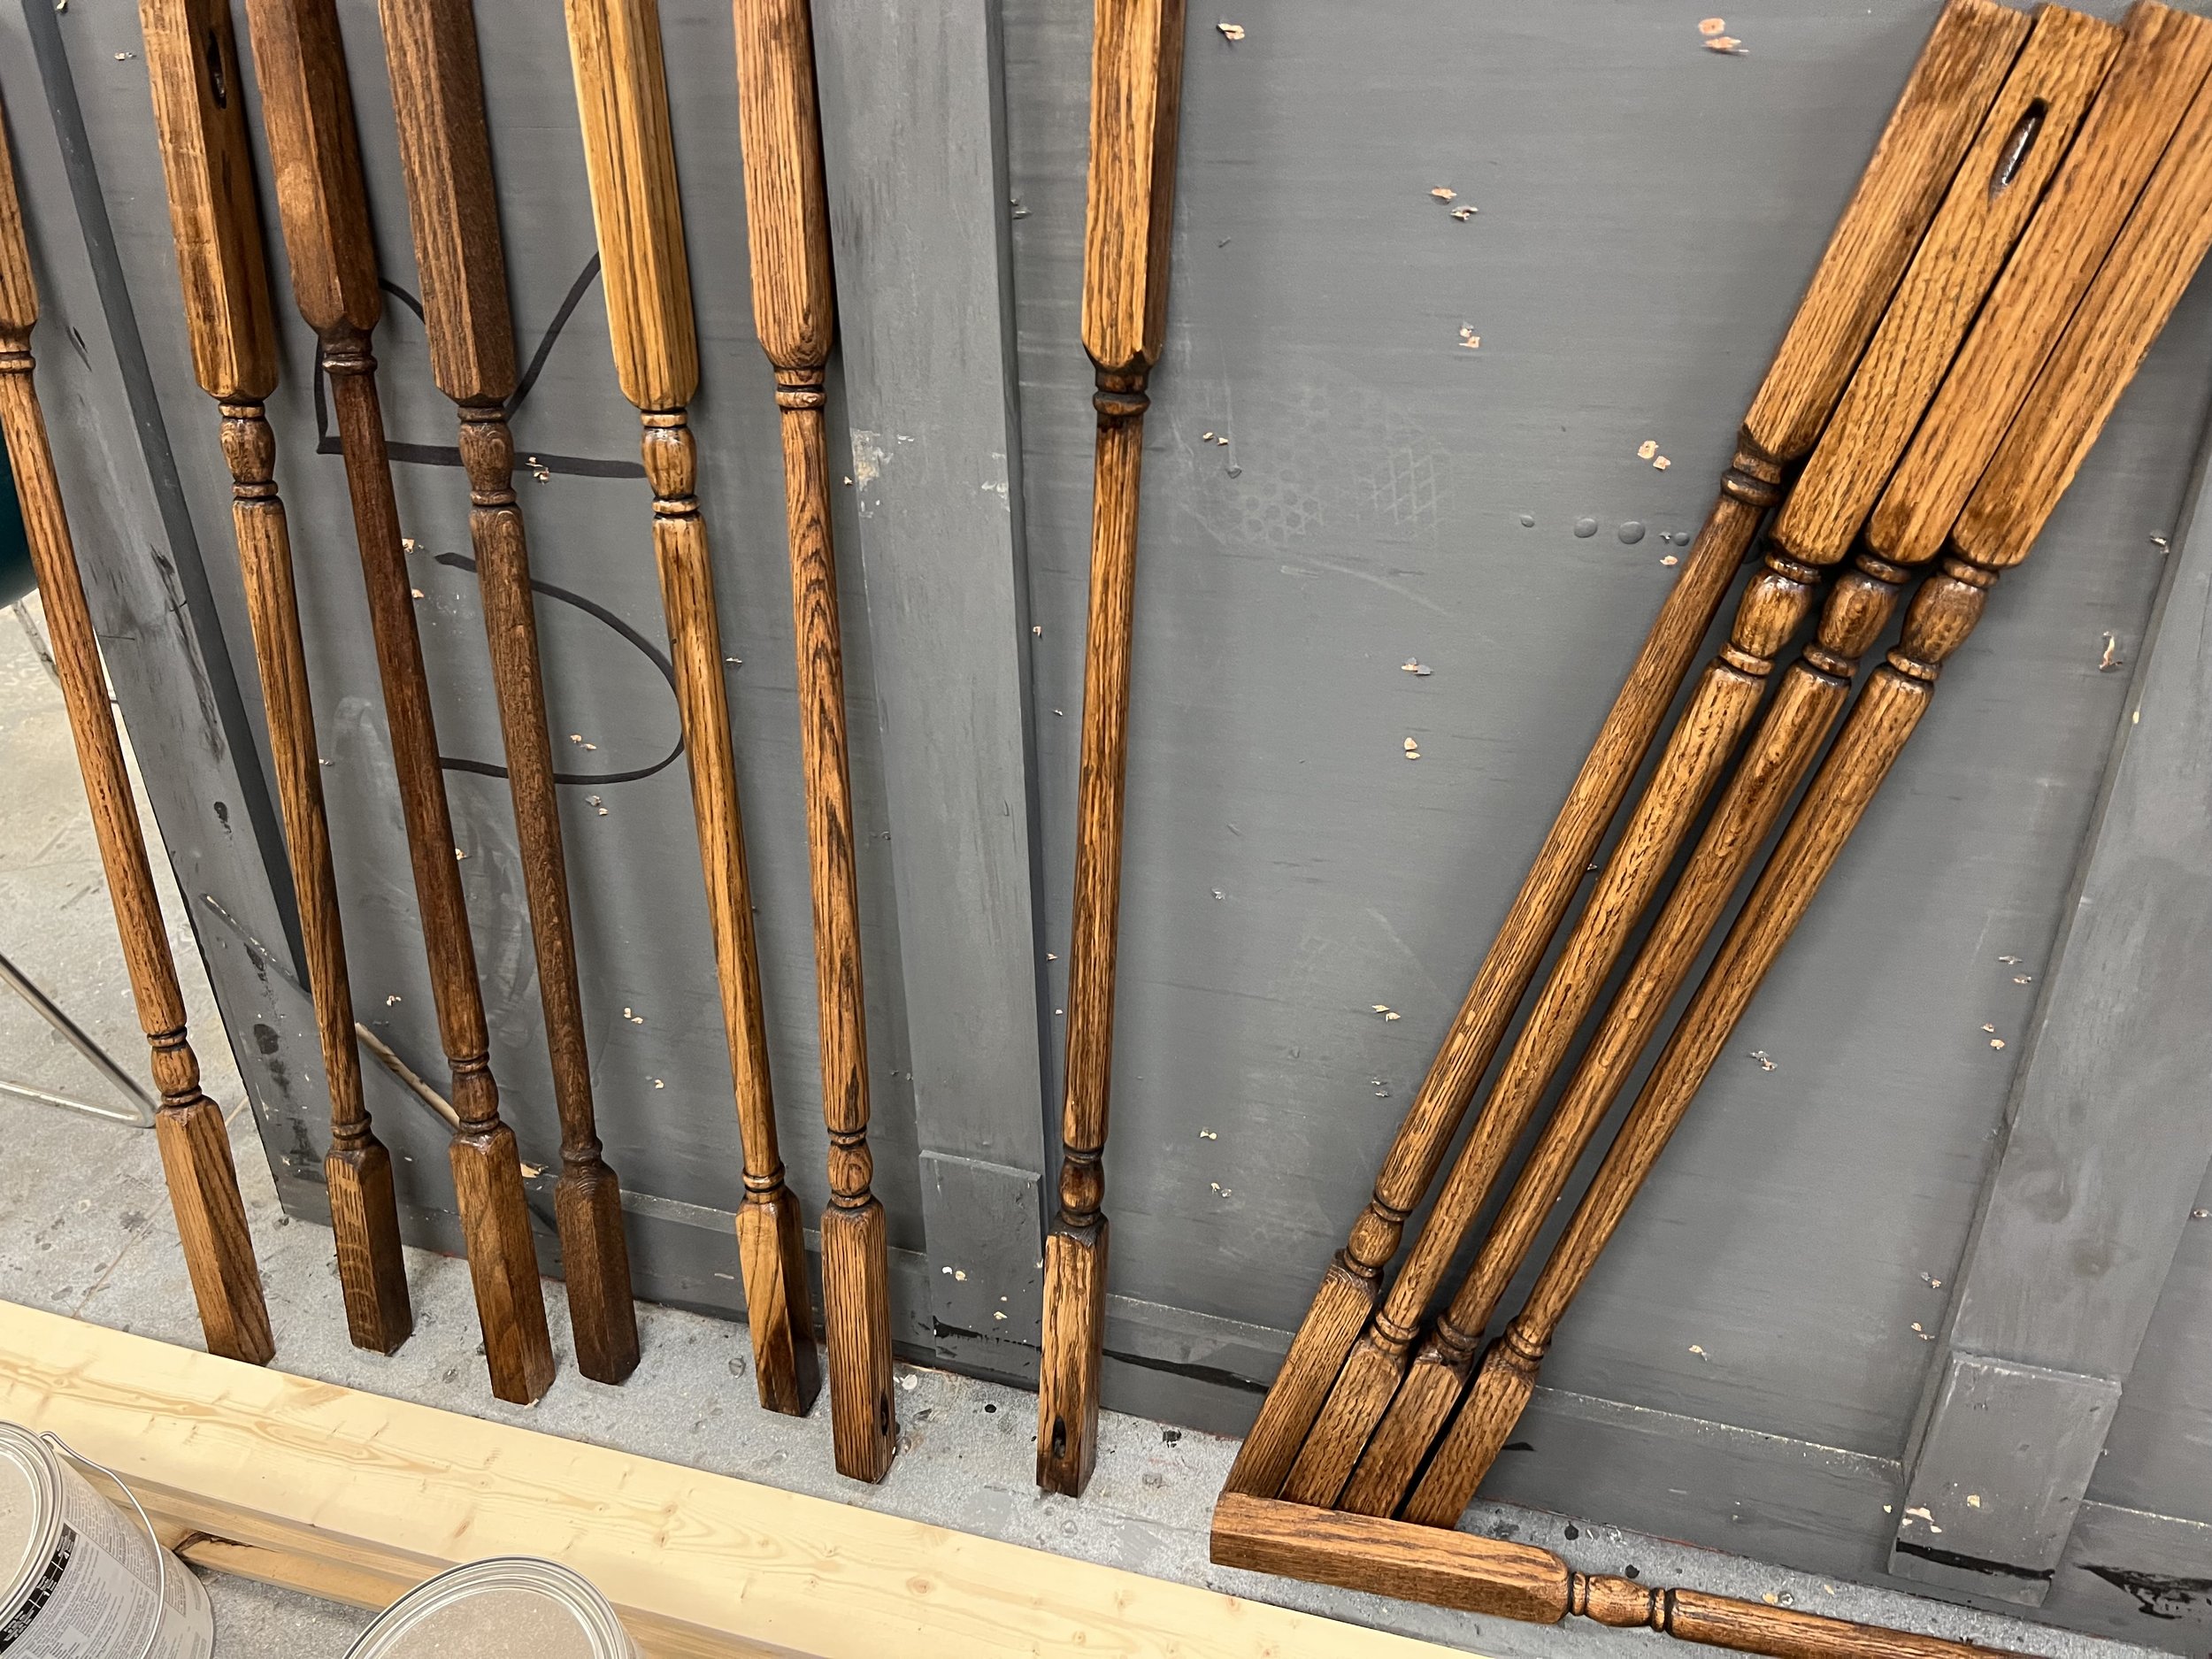
Repurposed Newel Post and Spindles from previous shows
Sanded each down and stained the natural wood
TD built a railing to the Designers liking
Pegged the top of the spindles to the railing
Pilot drilled and screwed the bottom the to the platform.
Faced the outside and stairs with masonite
TD added 1 inch half round wood to create a spandrel
Beams

Process
Pulled 19ft x 1ft flats out of storage and added triangle plugs to the end
Reinforced the interior of the flat with 2” x 4” and hog troughs along the back of the flat.
Added D ring brackets to have 2 rigging points in the center of the flat.
Added luan to the downstage side of the flat to give it 2 faces.
Added priming plaster to give it a wood texture
Painted with wood grain to add to the wood texture.
Used rope to pull to correct height of 12’ 10”, 11’ 10” and 10’ 10”
Used slings and chains as anchor points in the catwalk and 1/8” aircraft cable as line in between the shackle connected to the D ring and the shackle connected to the sling and chain.
Added anchor points into the flats on the stage left and right side of the beams.
Smaller beam upstage only had anchor points on the side of the walls
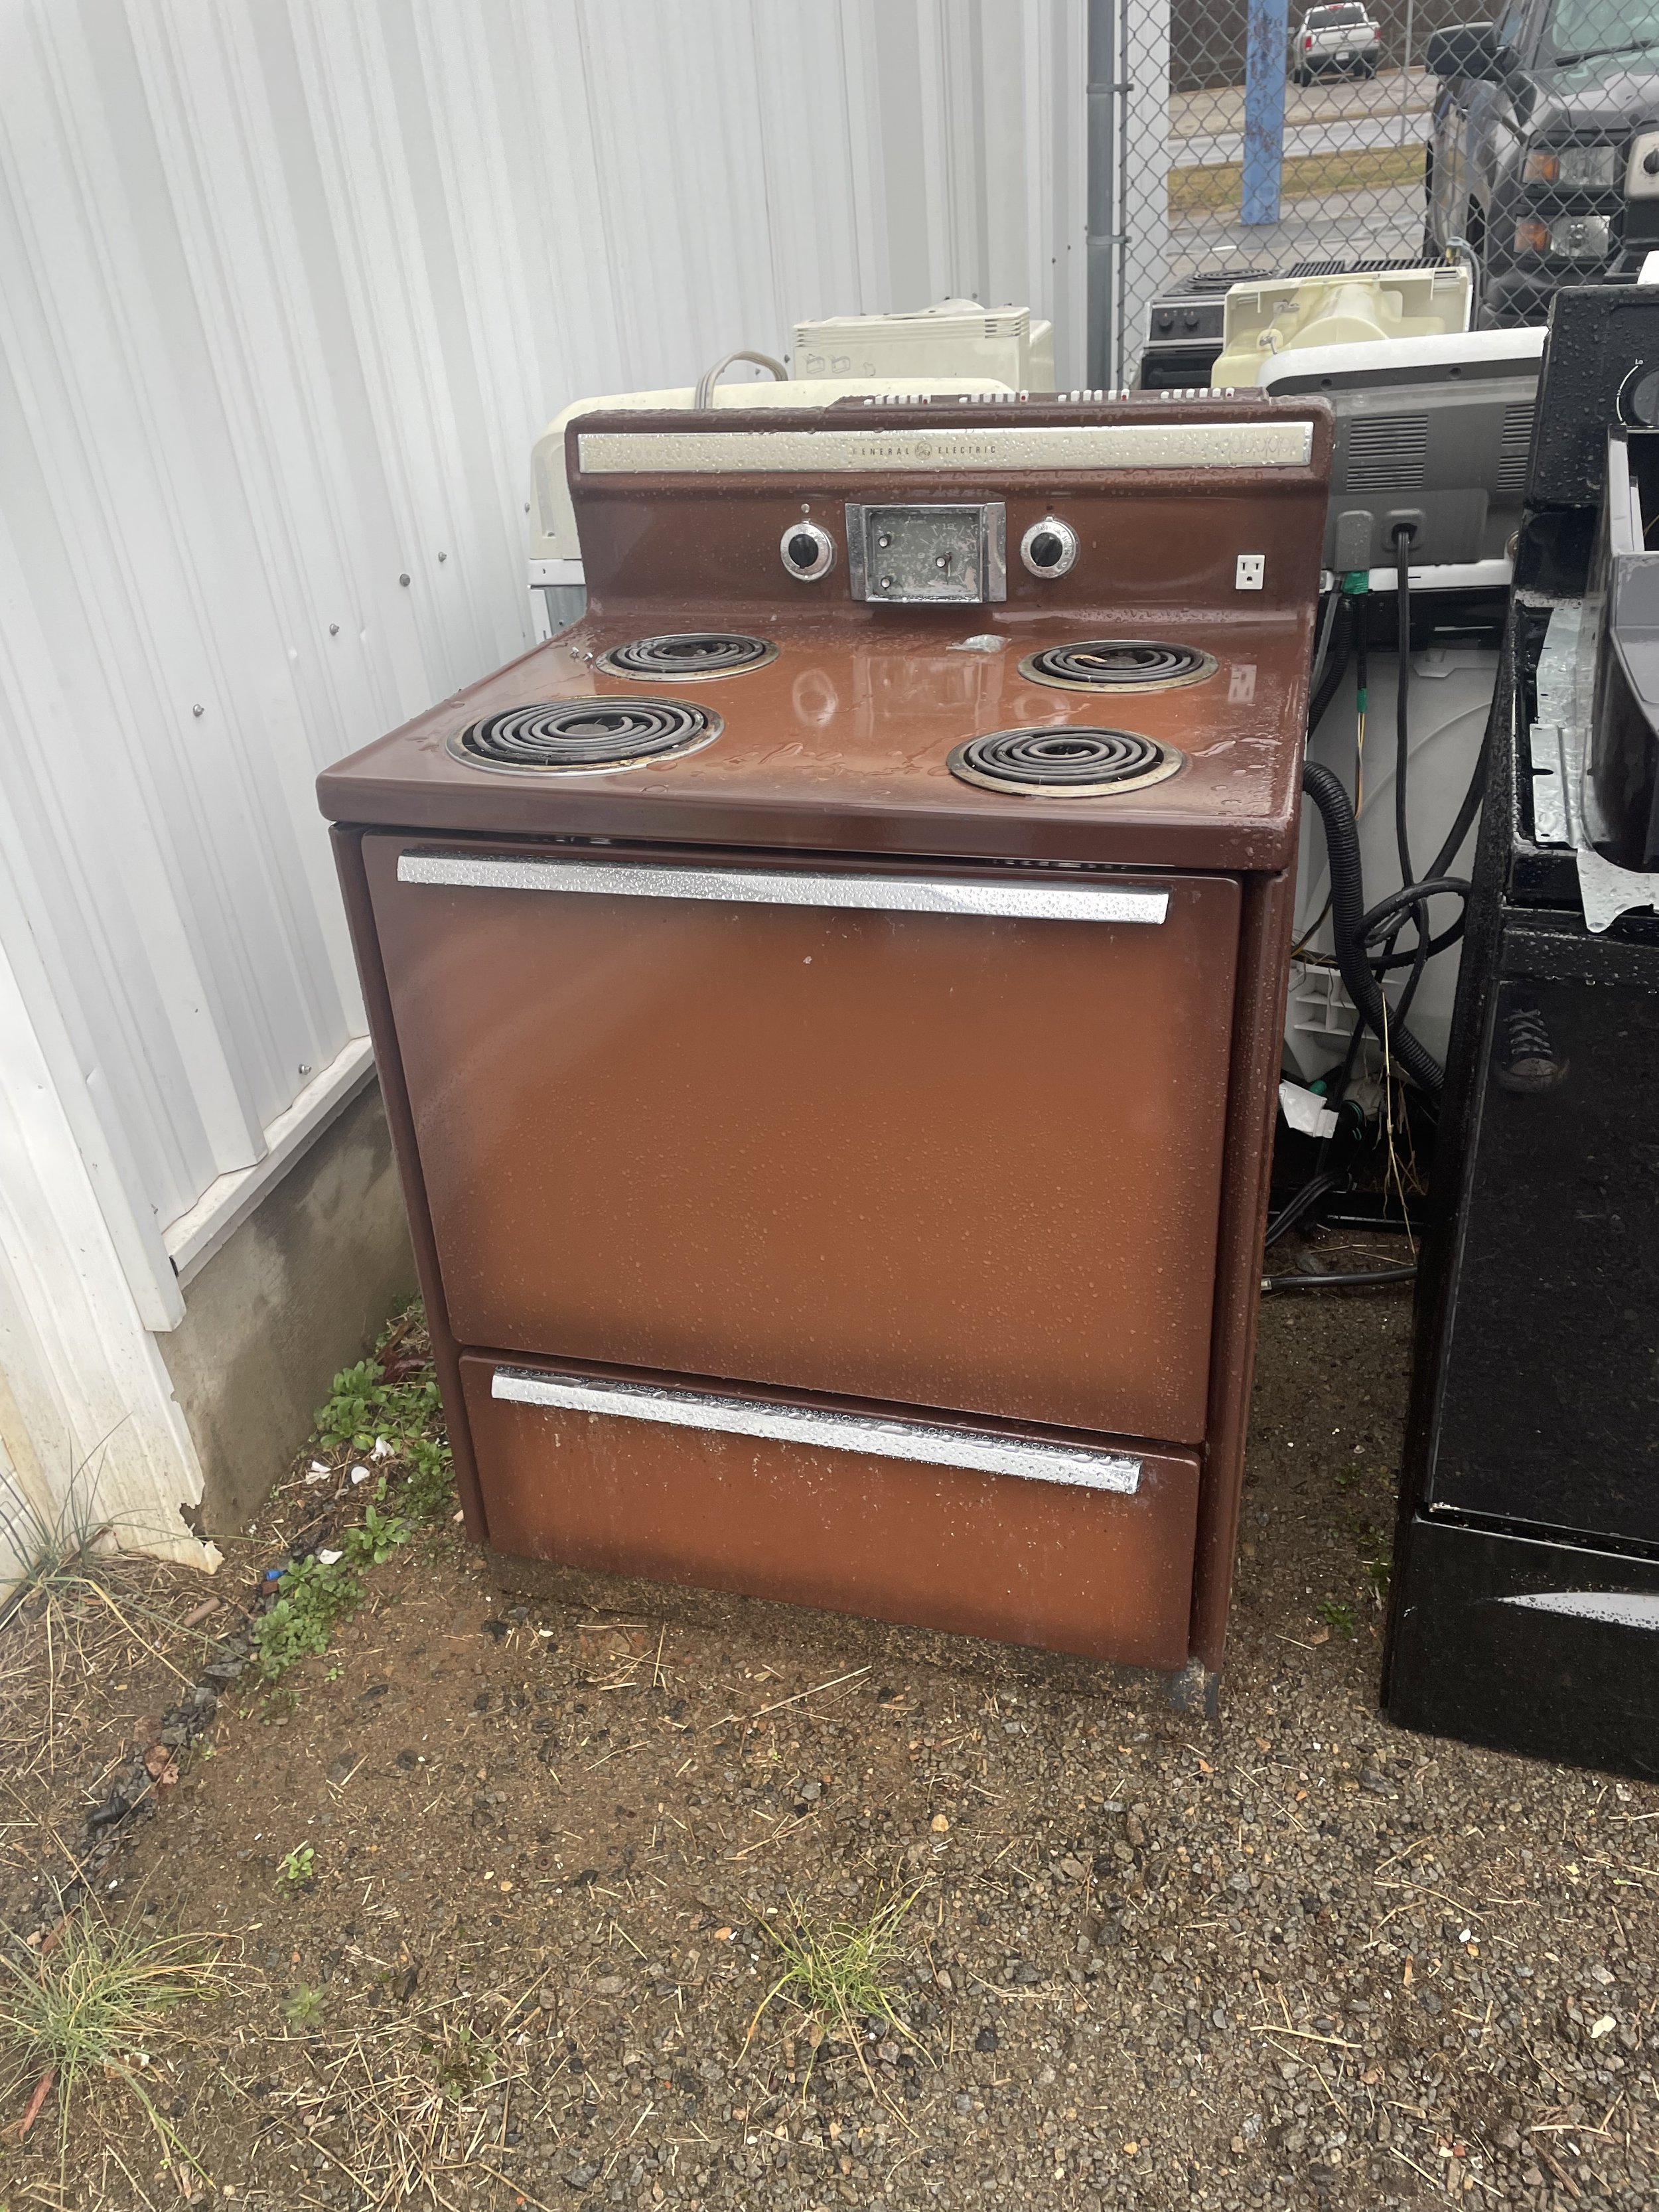
Stage Properties
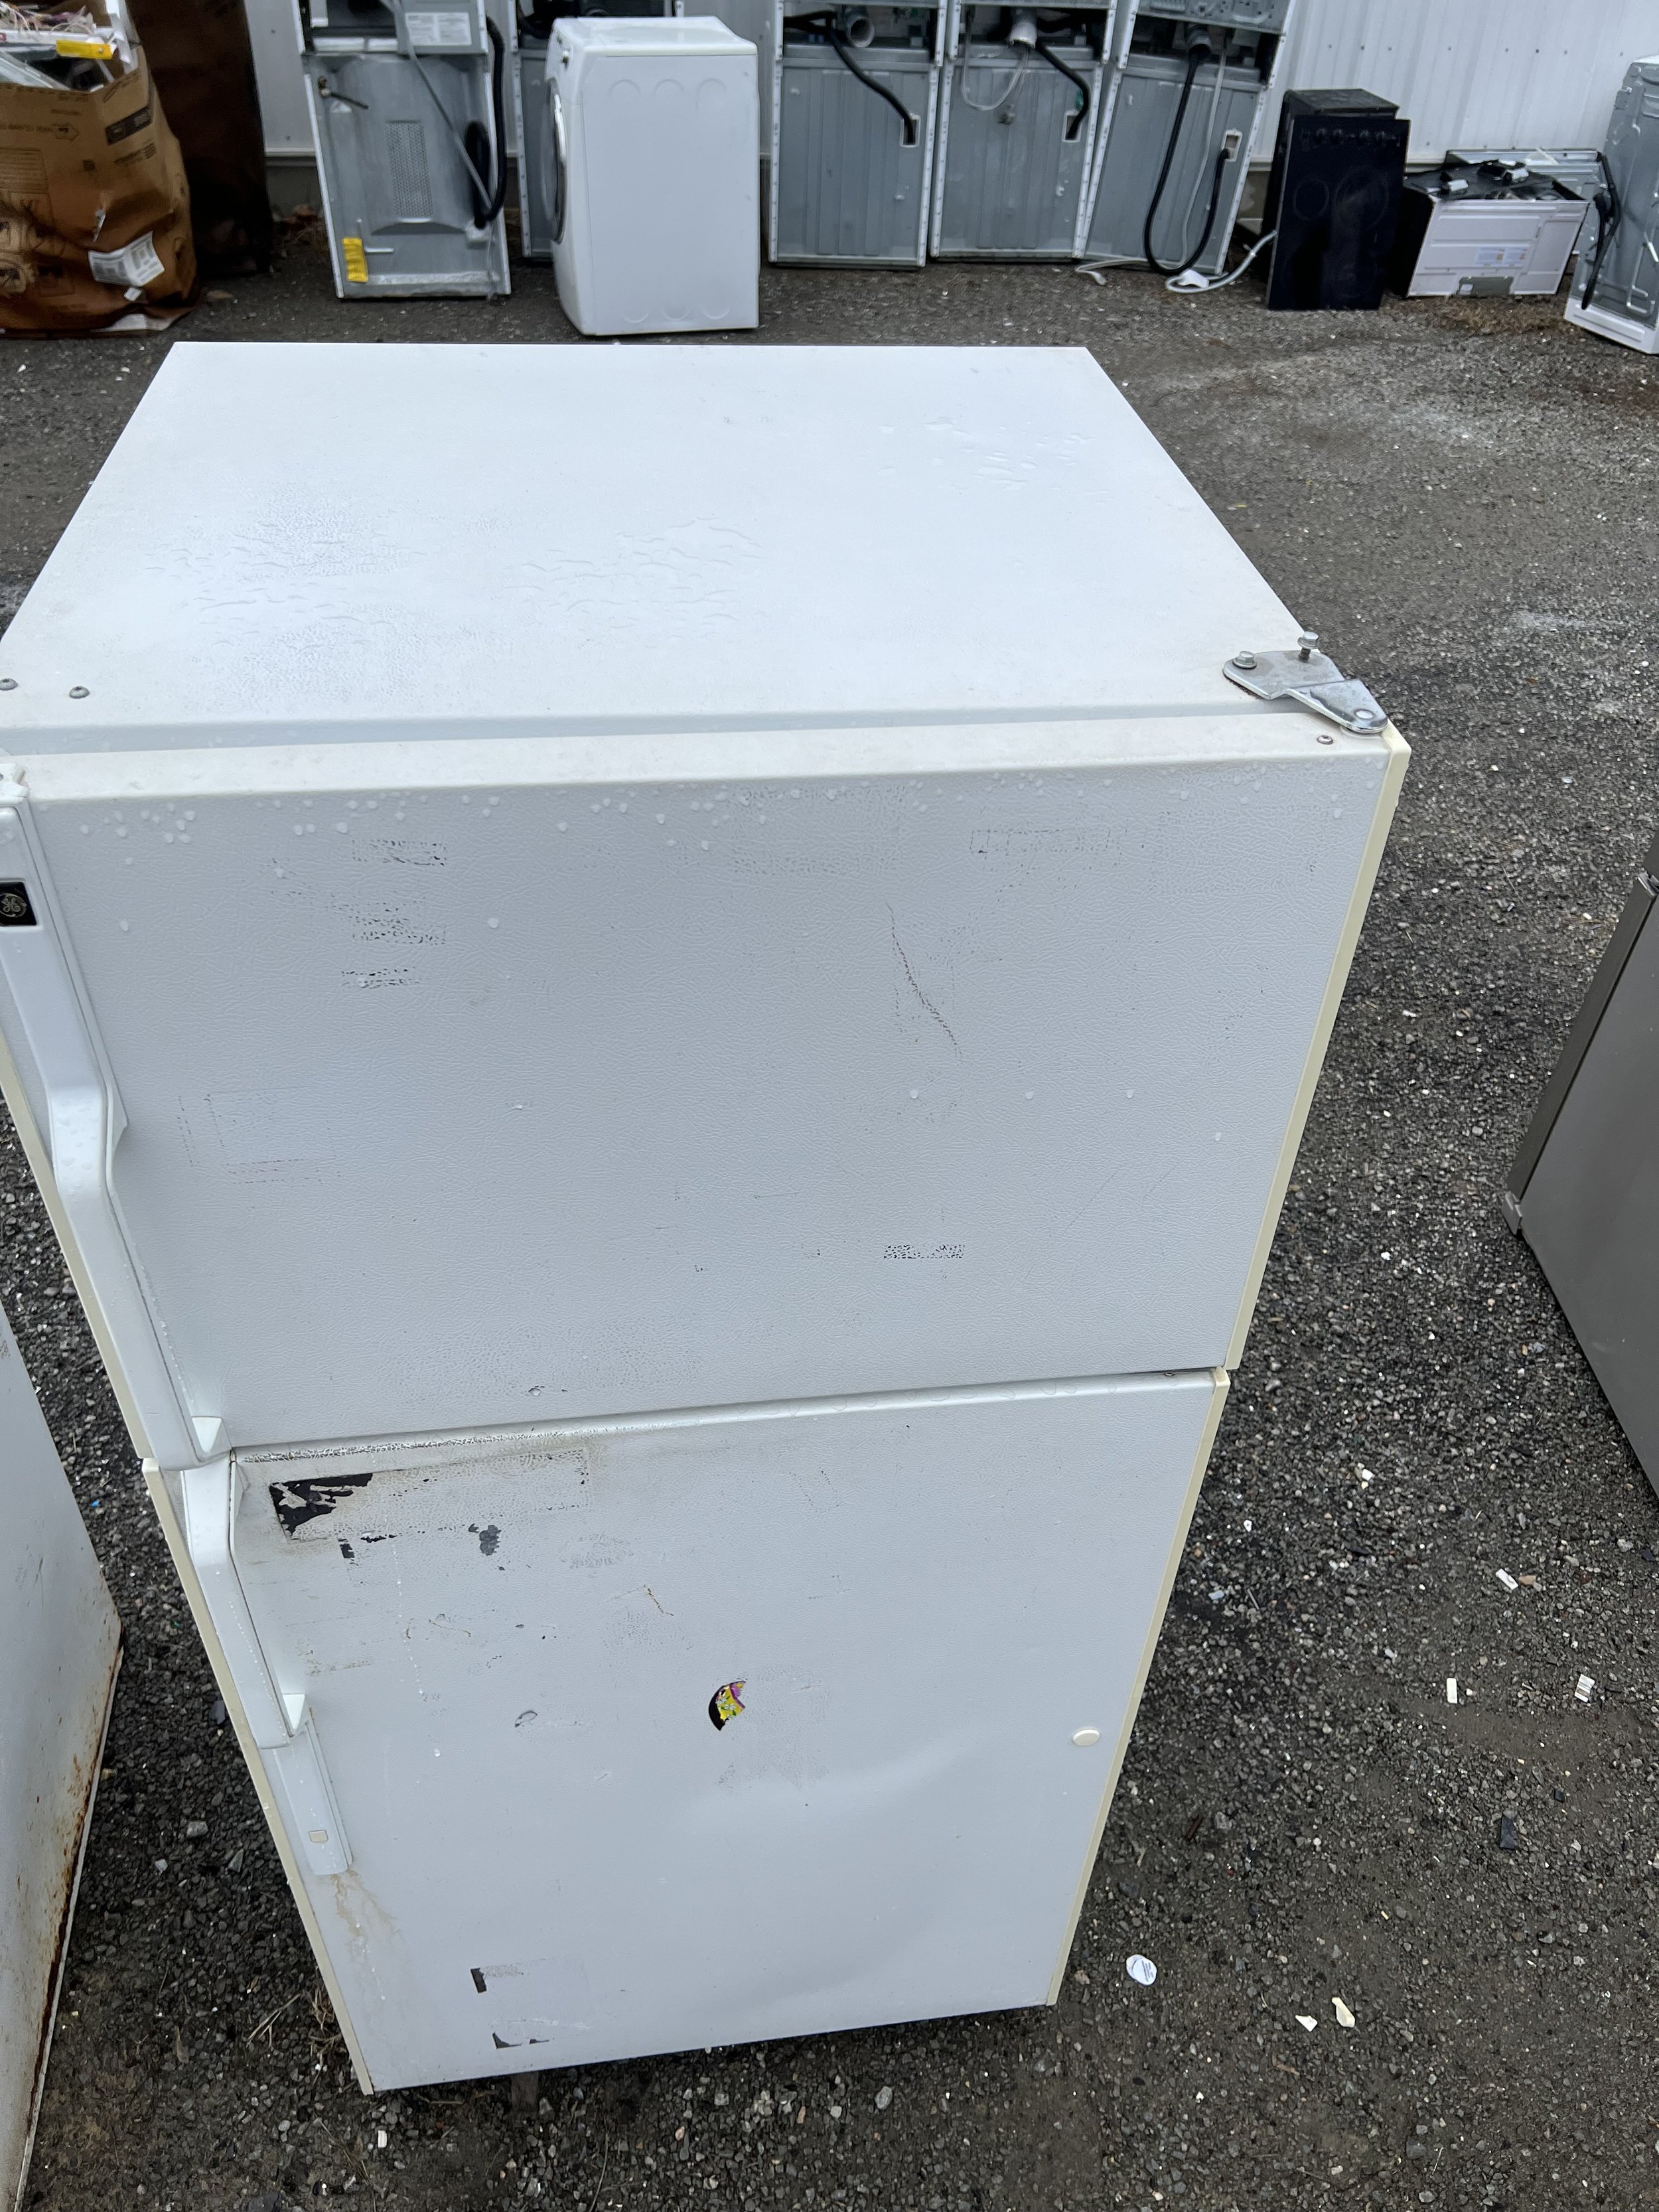
Fridge and Stove were found at a local appliance store in their junk area
Both were cleaned up and fridge was painted brown to match the setting and room.
Other Furniture and set dressing were pulled out of storage.
Cabinets were repurposed from a colleagues house and painted to match set
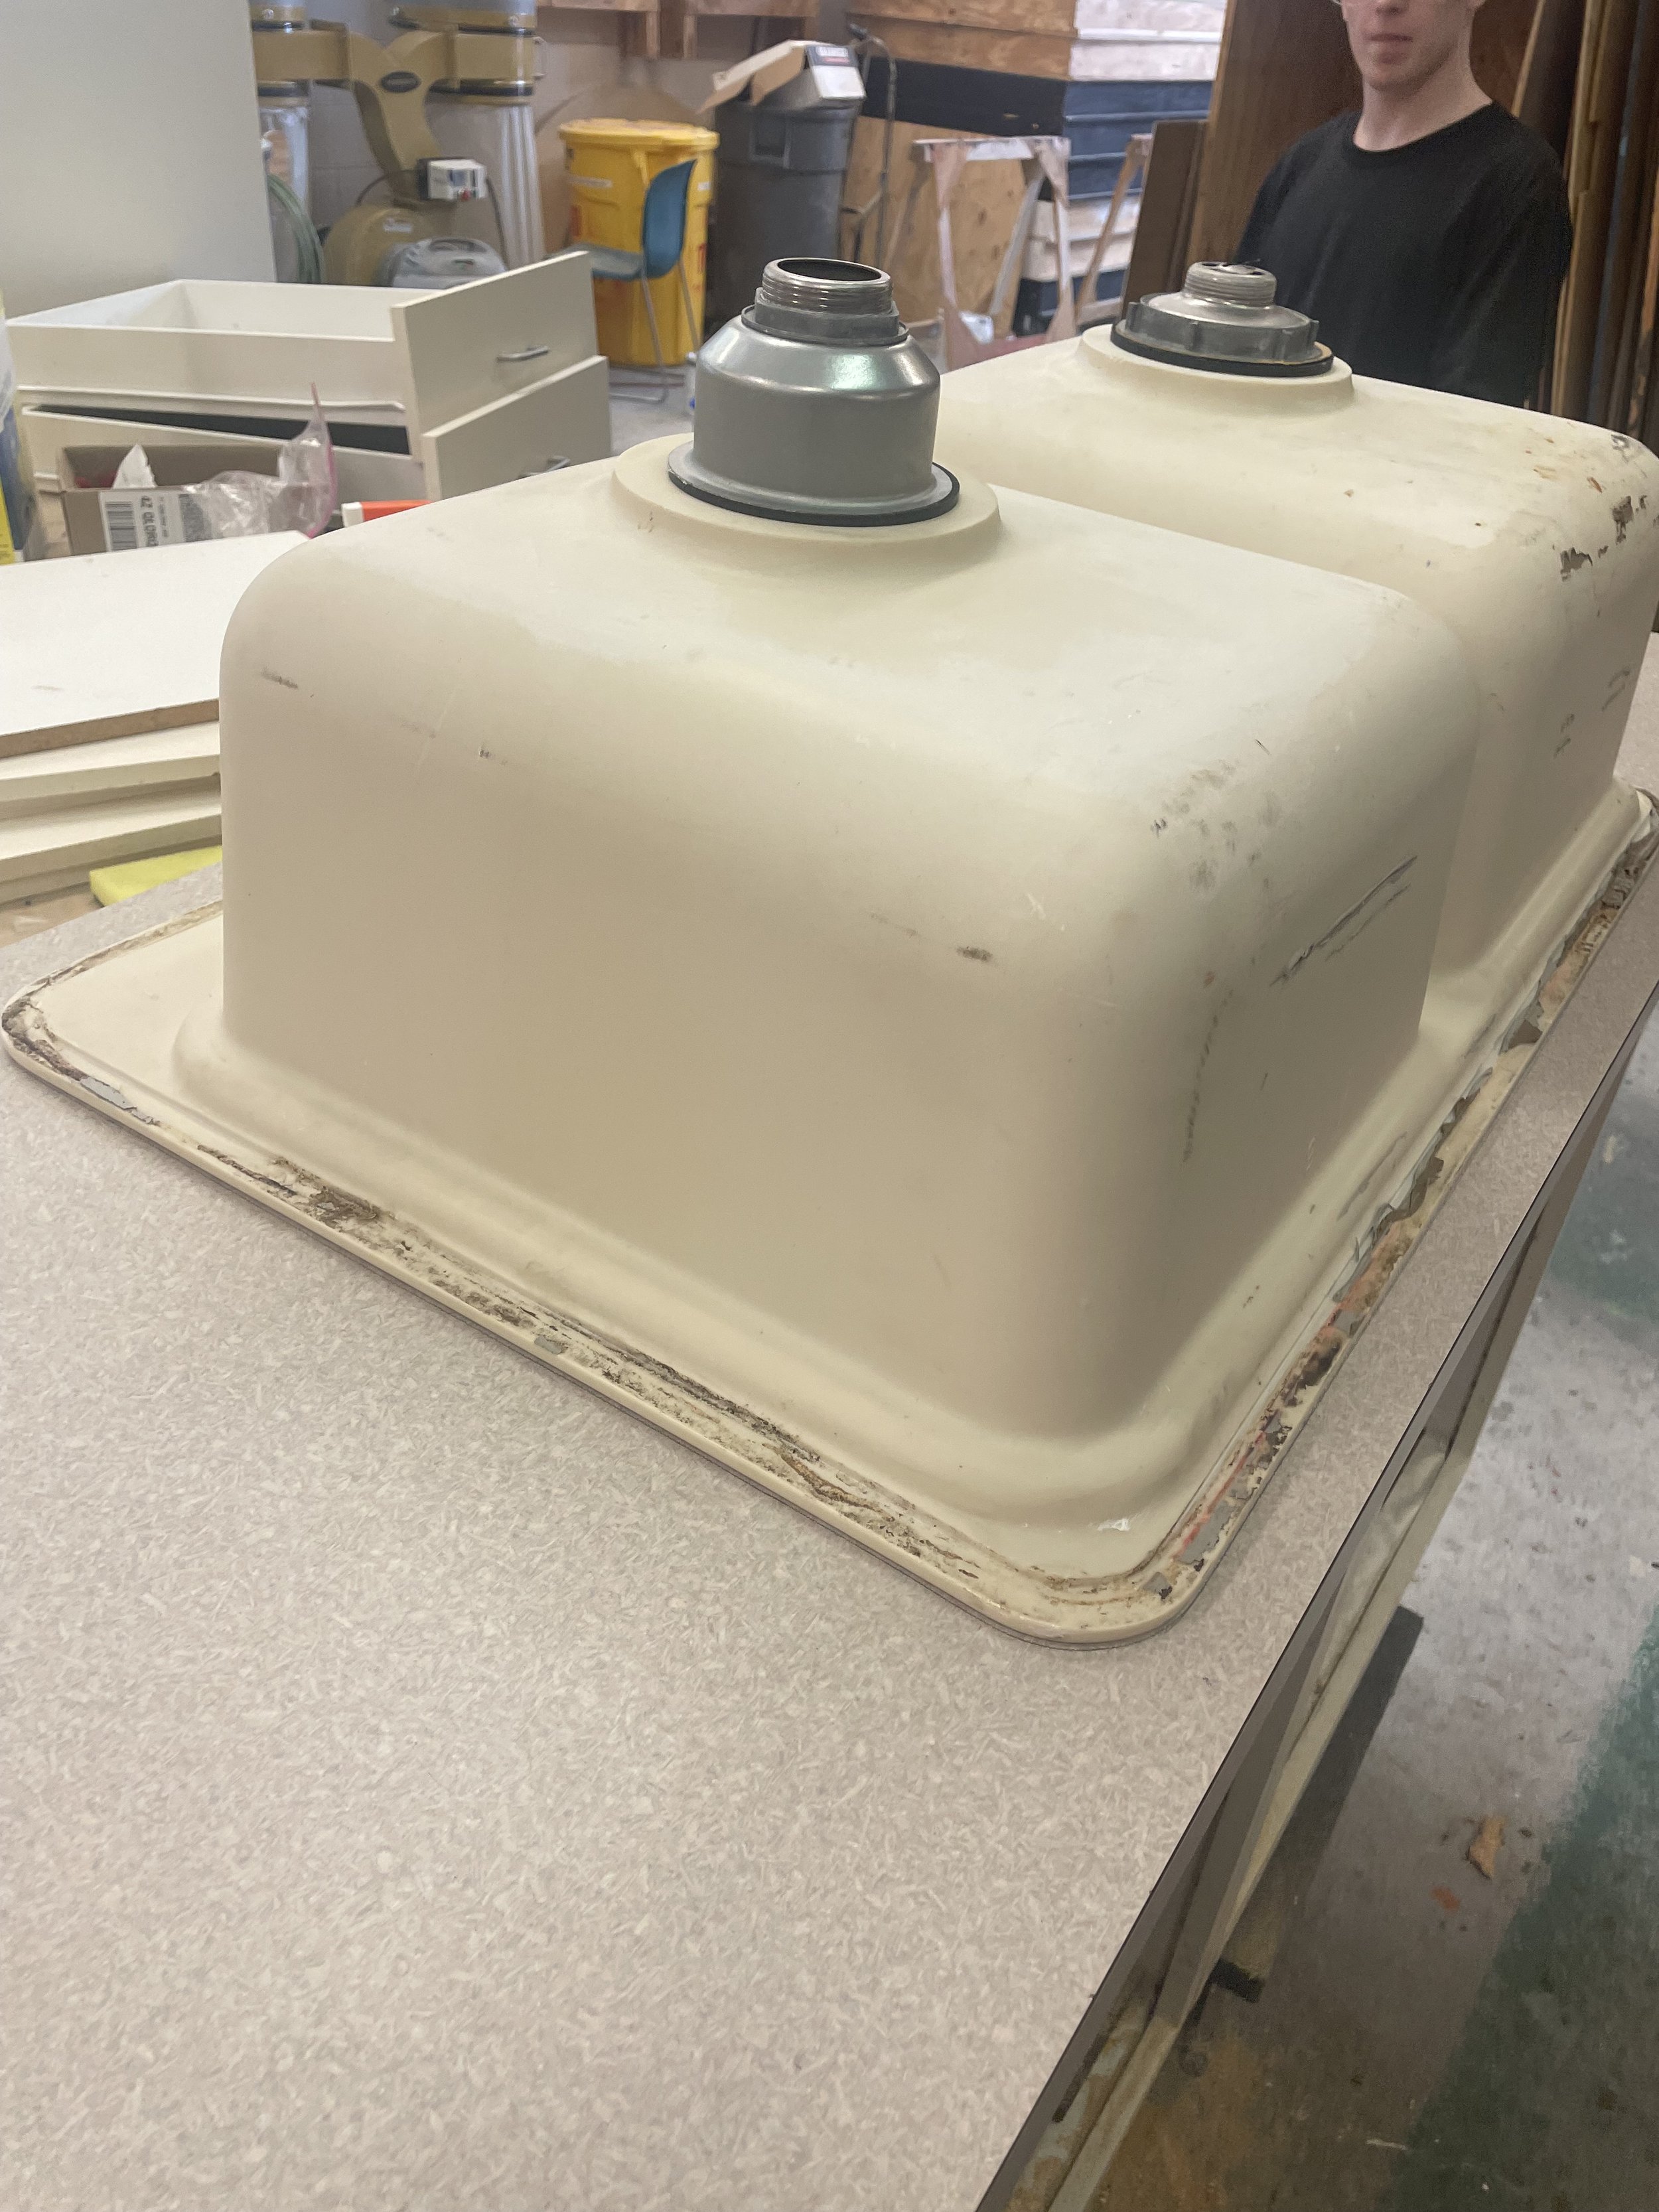
Sink was bought from a Habit for Humanity and a hole was cut into the counter top to insert the sink
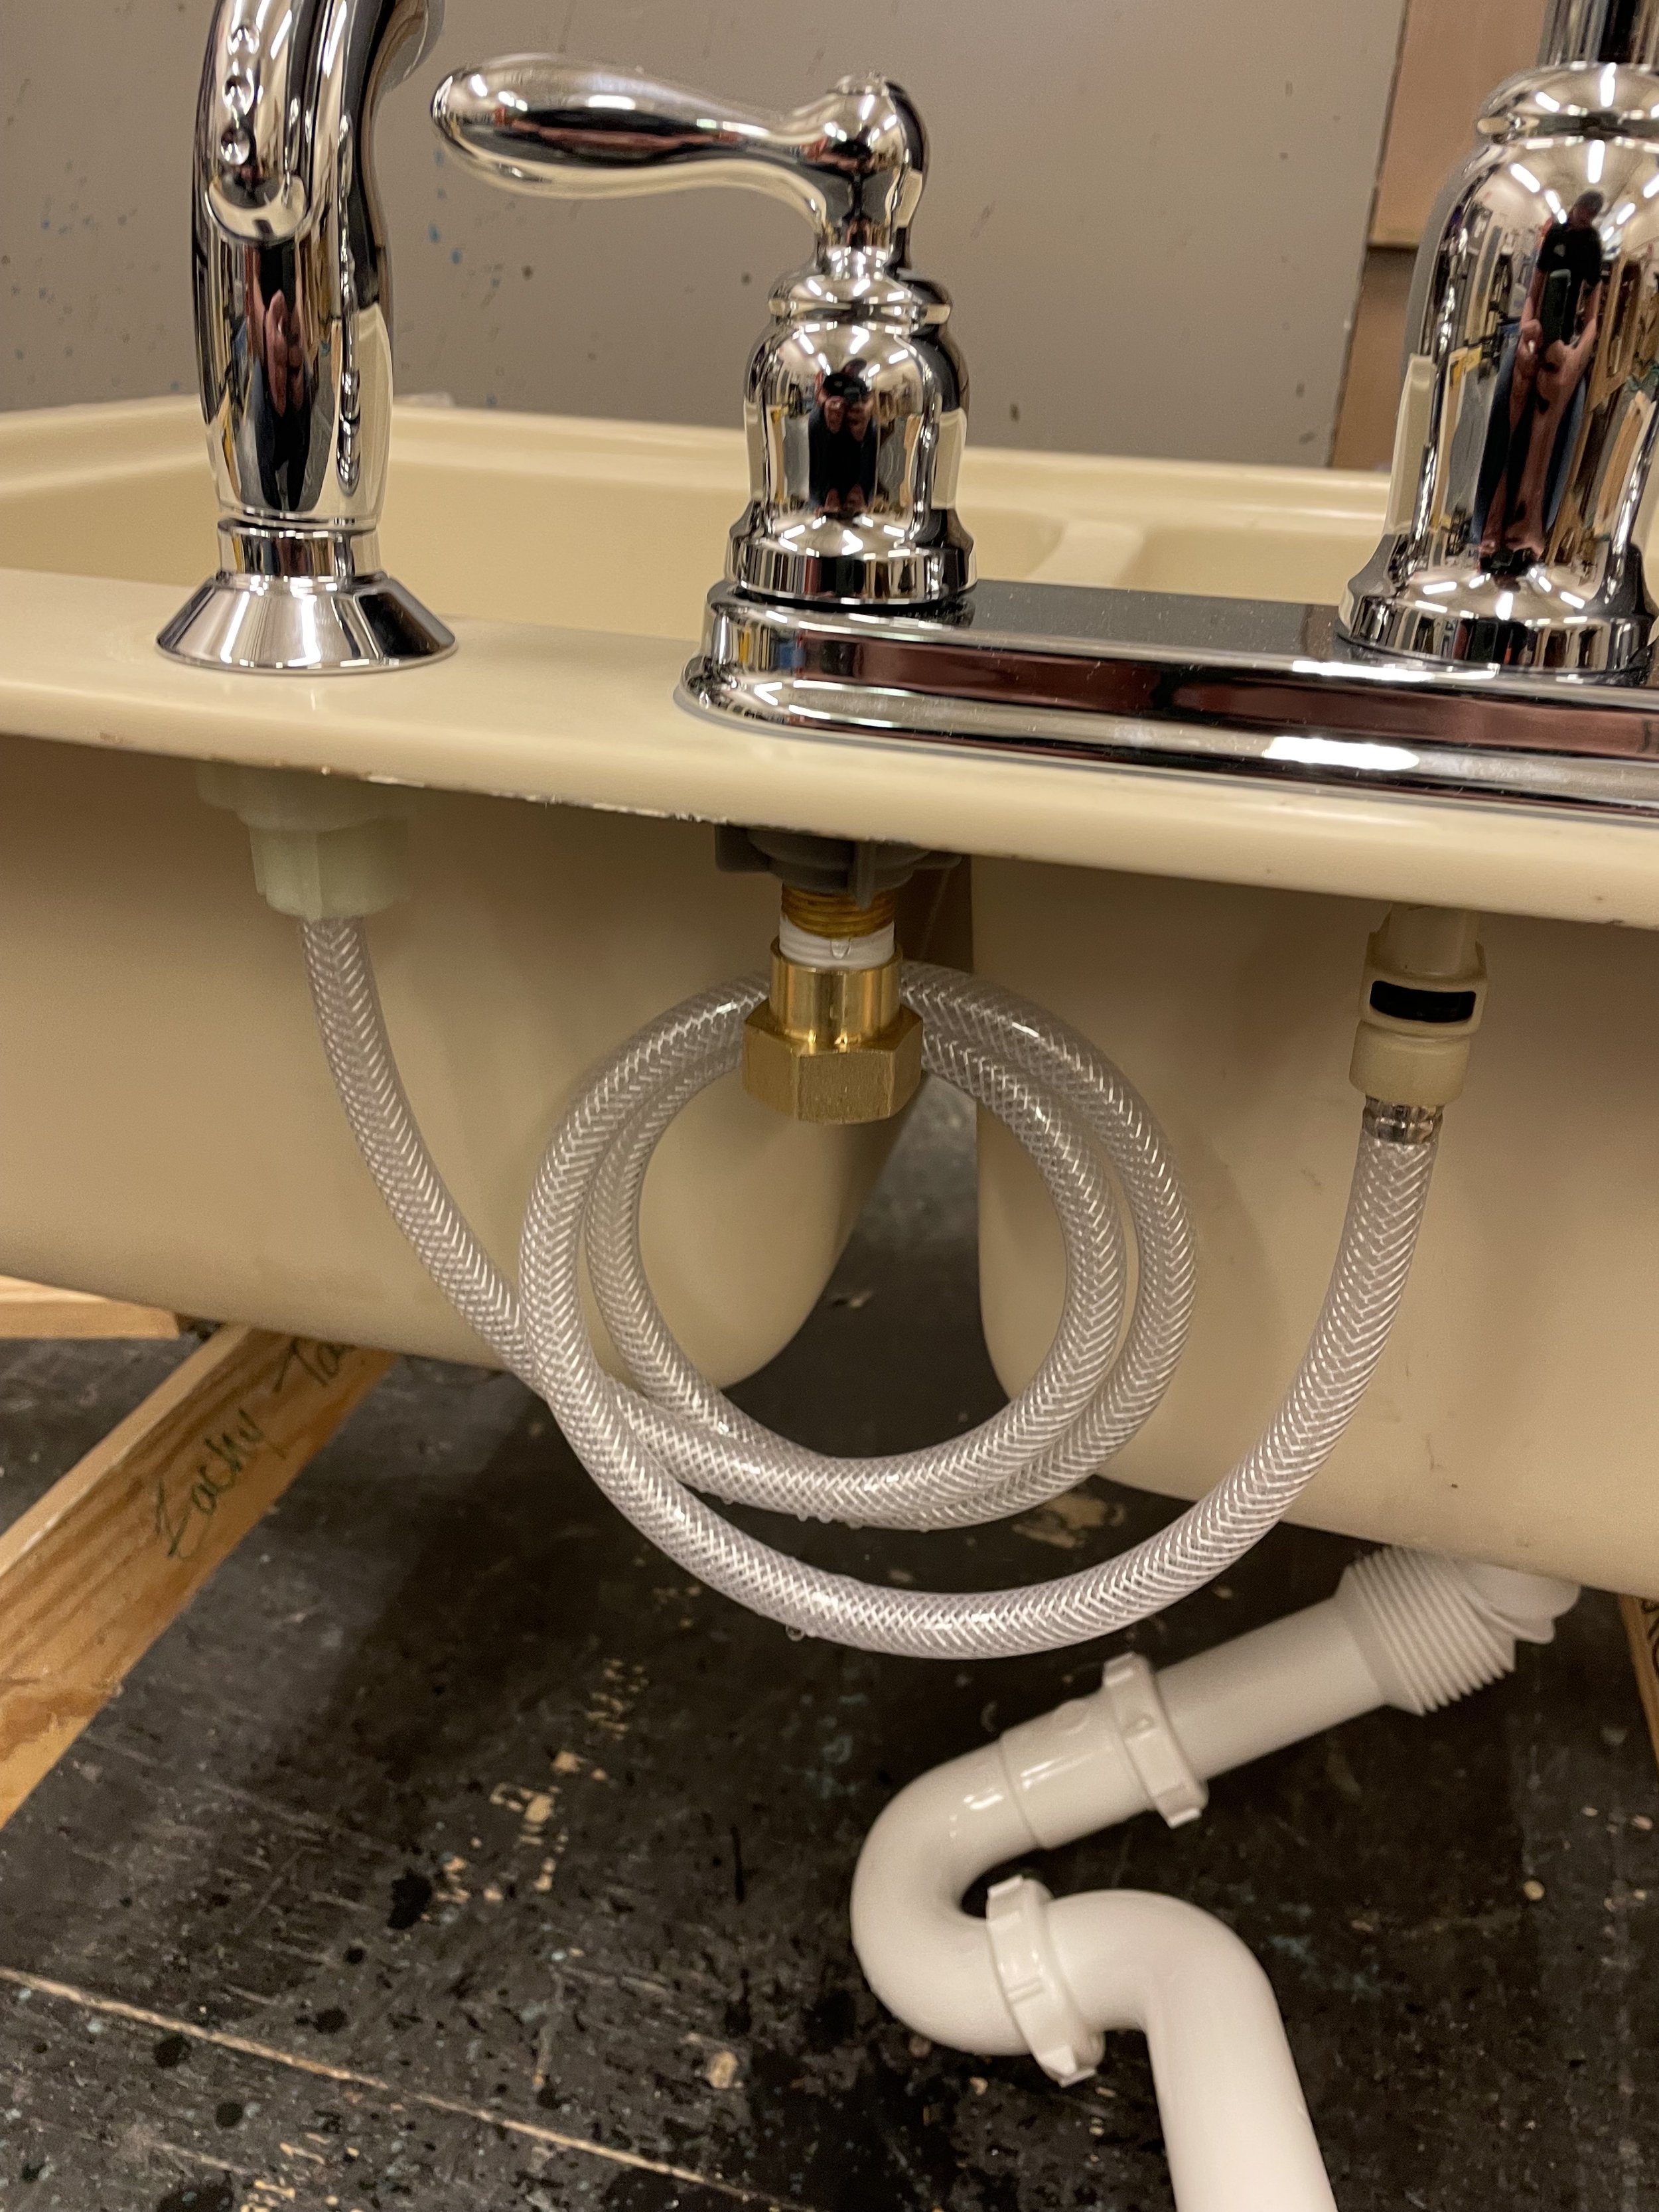
Plumbing was added to the sink and the water was fed from the back of the scene shop.
Water filter was applied to the tap to provide clean drinking water for the cast.


Kitchen Counter
Repurposed from a colleagues basement
Was dry rotted, paint chipping off and not set for a sink
Took all the hardware off the door’s and inside the counter and doors
Flipped counter upside down and reinforced the bottom of it with 2” x 6”
Cut hole in countertop to fit sink and cut holes into the back of the counter to hook up the plumbing.
Cut a gap at the top of the two cabinet to fit the bottom of the sink in the middle of them l
Laid countertop back on the cabinets and secured the plumbing
Painted brown to match the set and added texture to the countertop
Hung cabinets next to the window and the technical director added a crown molding on top


Production Photos